Skip to content

Posts from the ‘Uncategorized’ Category

the making of his 40th

The hot man in my life turned 40 recently. He wasn’t melodramatic about it, didn’t request large unwieldy gifts, or a party, or even a day to mourn his 30s.  He never asks for things and much prefers us not to spend too much money, or time, or money, on him… and is, as a result, so hard to figure out how to please.

So of course, we needed to make it big.

cam 40 sign

It began with his awesome friends, who surprised him with a day at the whitecaps – boys day out. I took that opportunity to clear out some of his “list” of to-dos.  The following weekend I whisked him to Vegas for some sun, good food, and fun with my best guy.  Then we ended the month of “40” with a party…not going to lie – this one has been simmering for over a year – but it turned out very differently than I’d imagined – and every bit as “him” as I’d hoped.

It was supposed to be a sun drenched backyard bbq adult style – with all of cam’s favorite things from slurpees to icecream, bocce tournaments, a singer in the background, and food truck in the driveway.

In ended up a crazy rainy day with all of cam’s favourite things – but once I let him in on the plan the CMA in him came out and the food trucks and singer were quickly dashed aside in favour of me cooking for 50 people and him setting up an apple play-list.  The results made him super happy – and the night was incredible – all because of our wonderful friends and family who came from near and far and found childcare (not easy!) for the night to party with us.

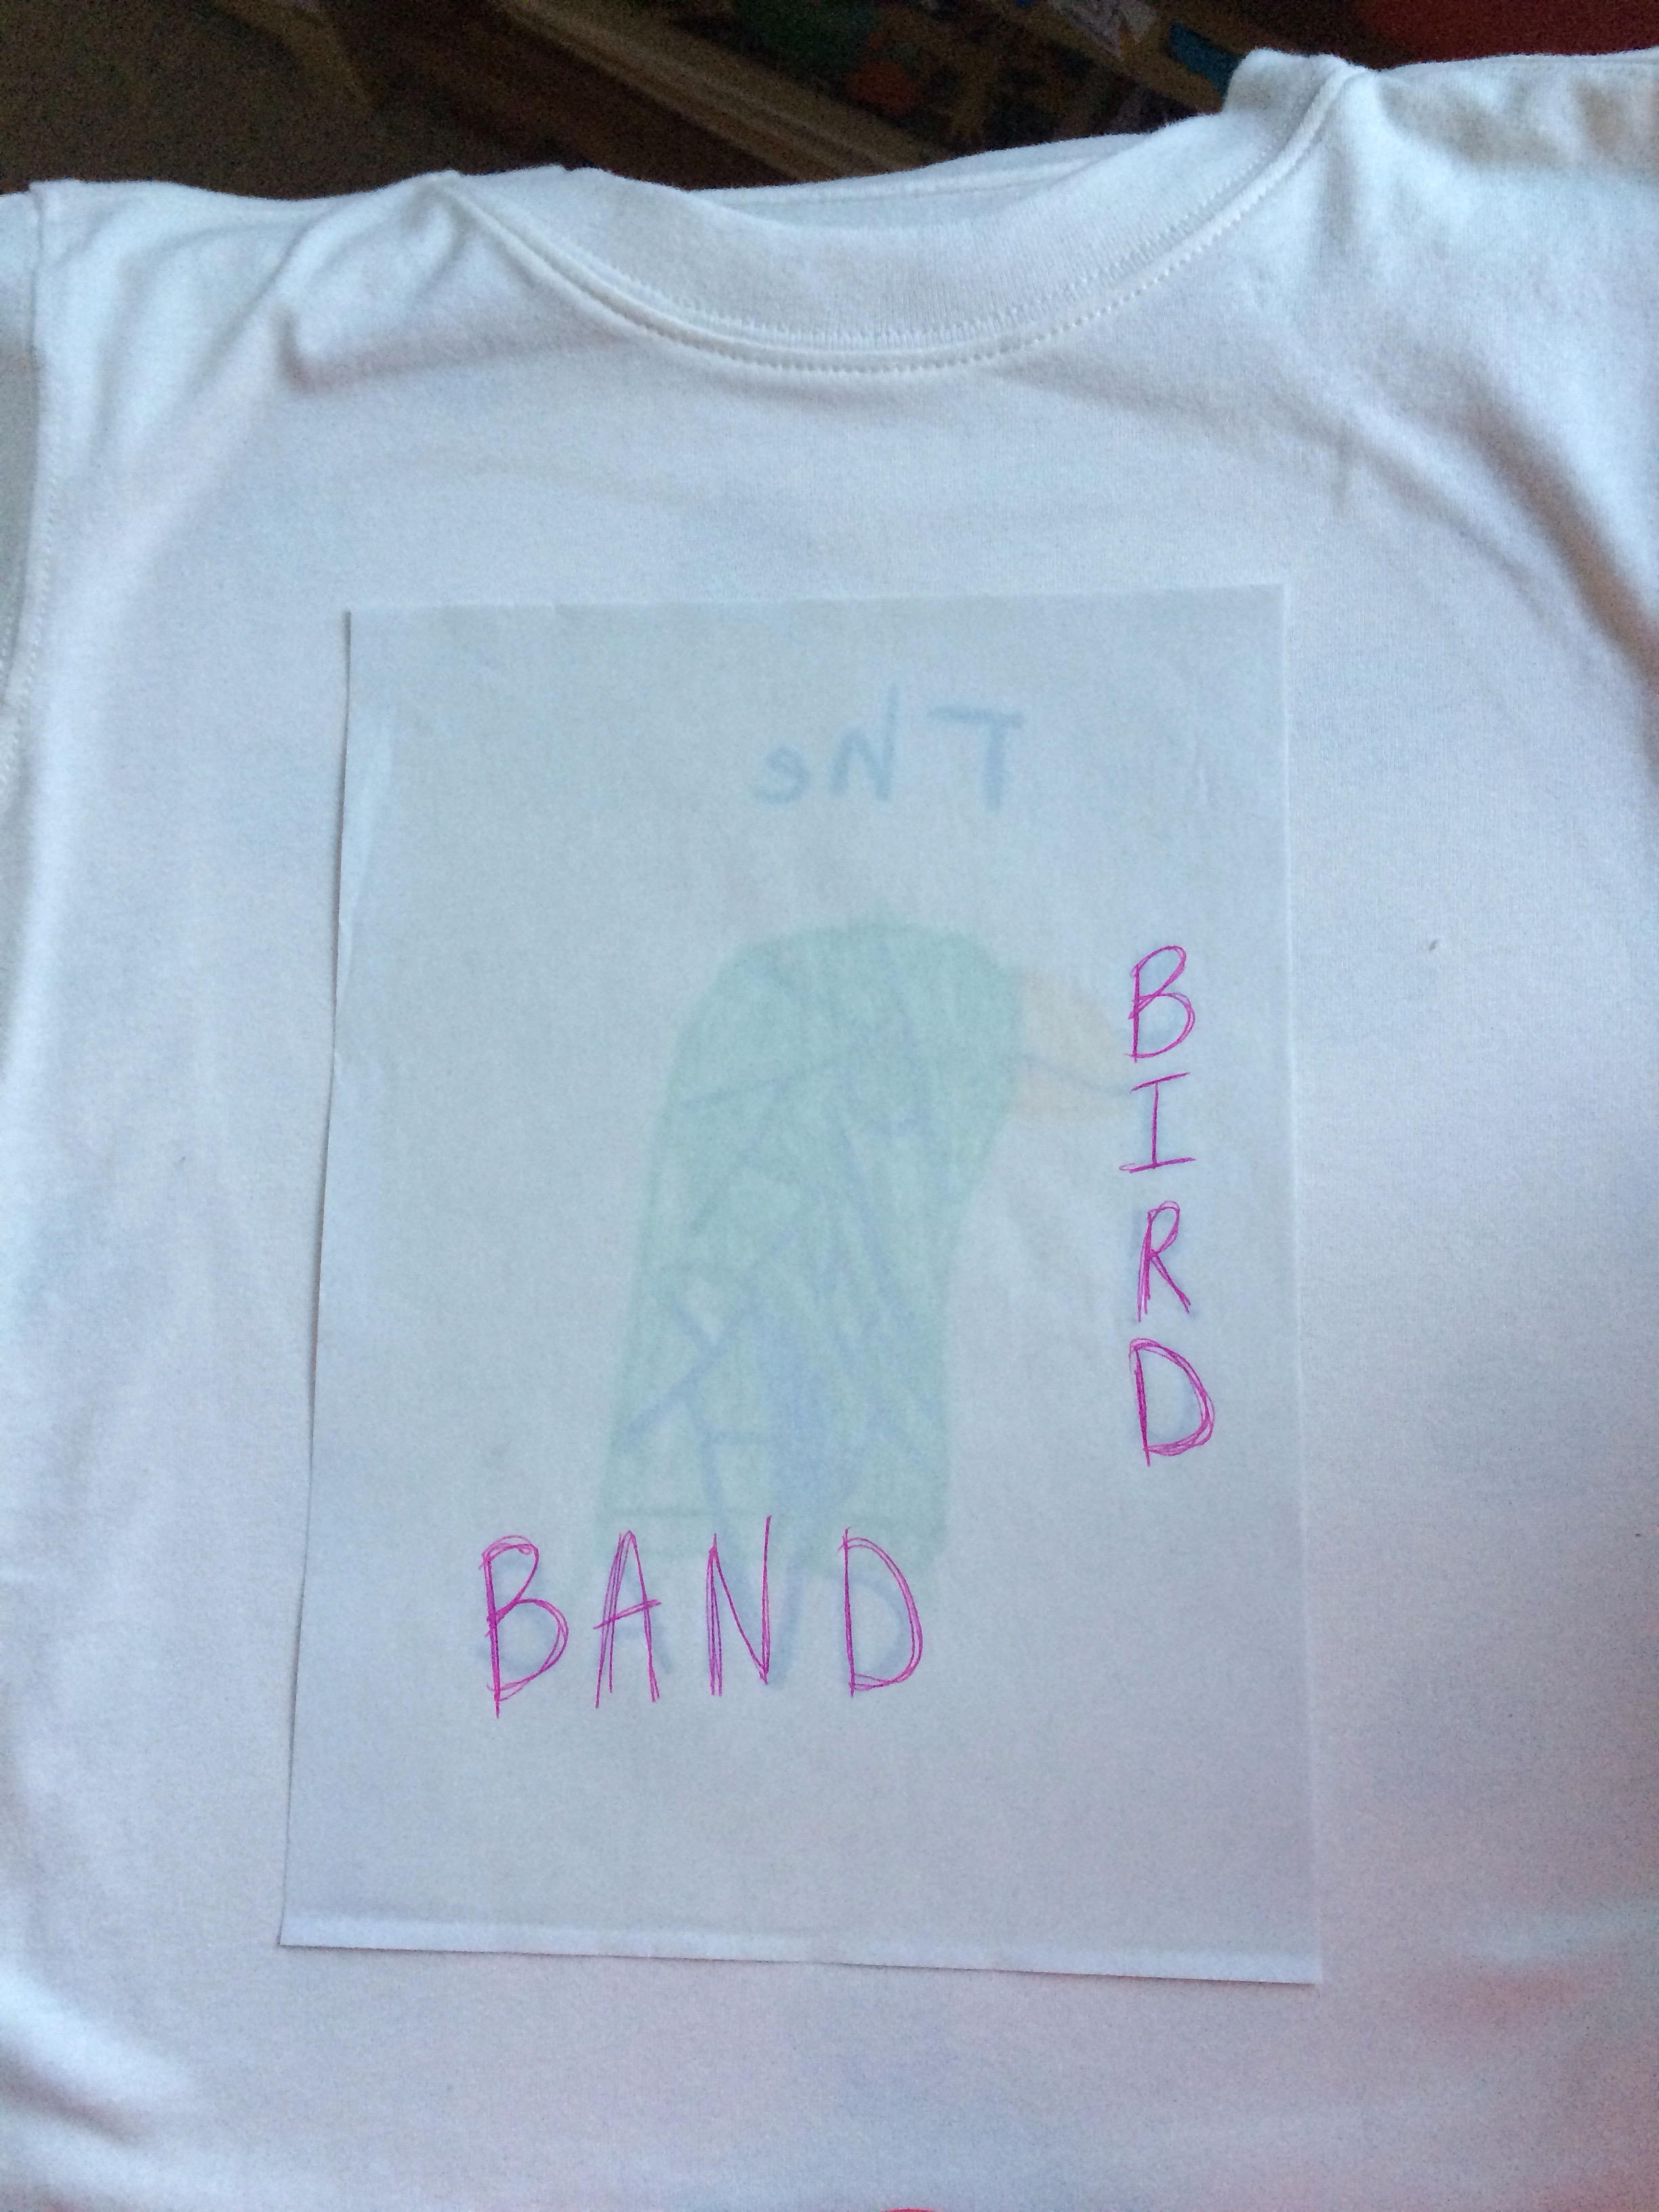
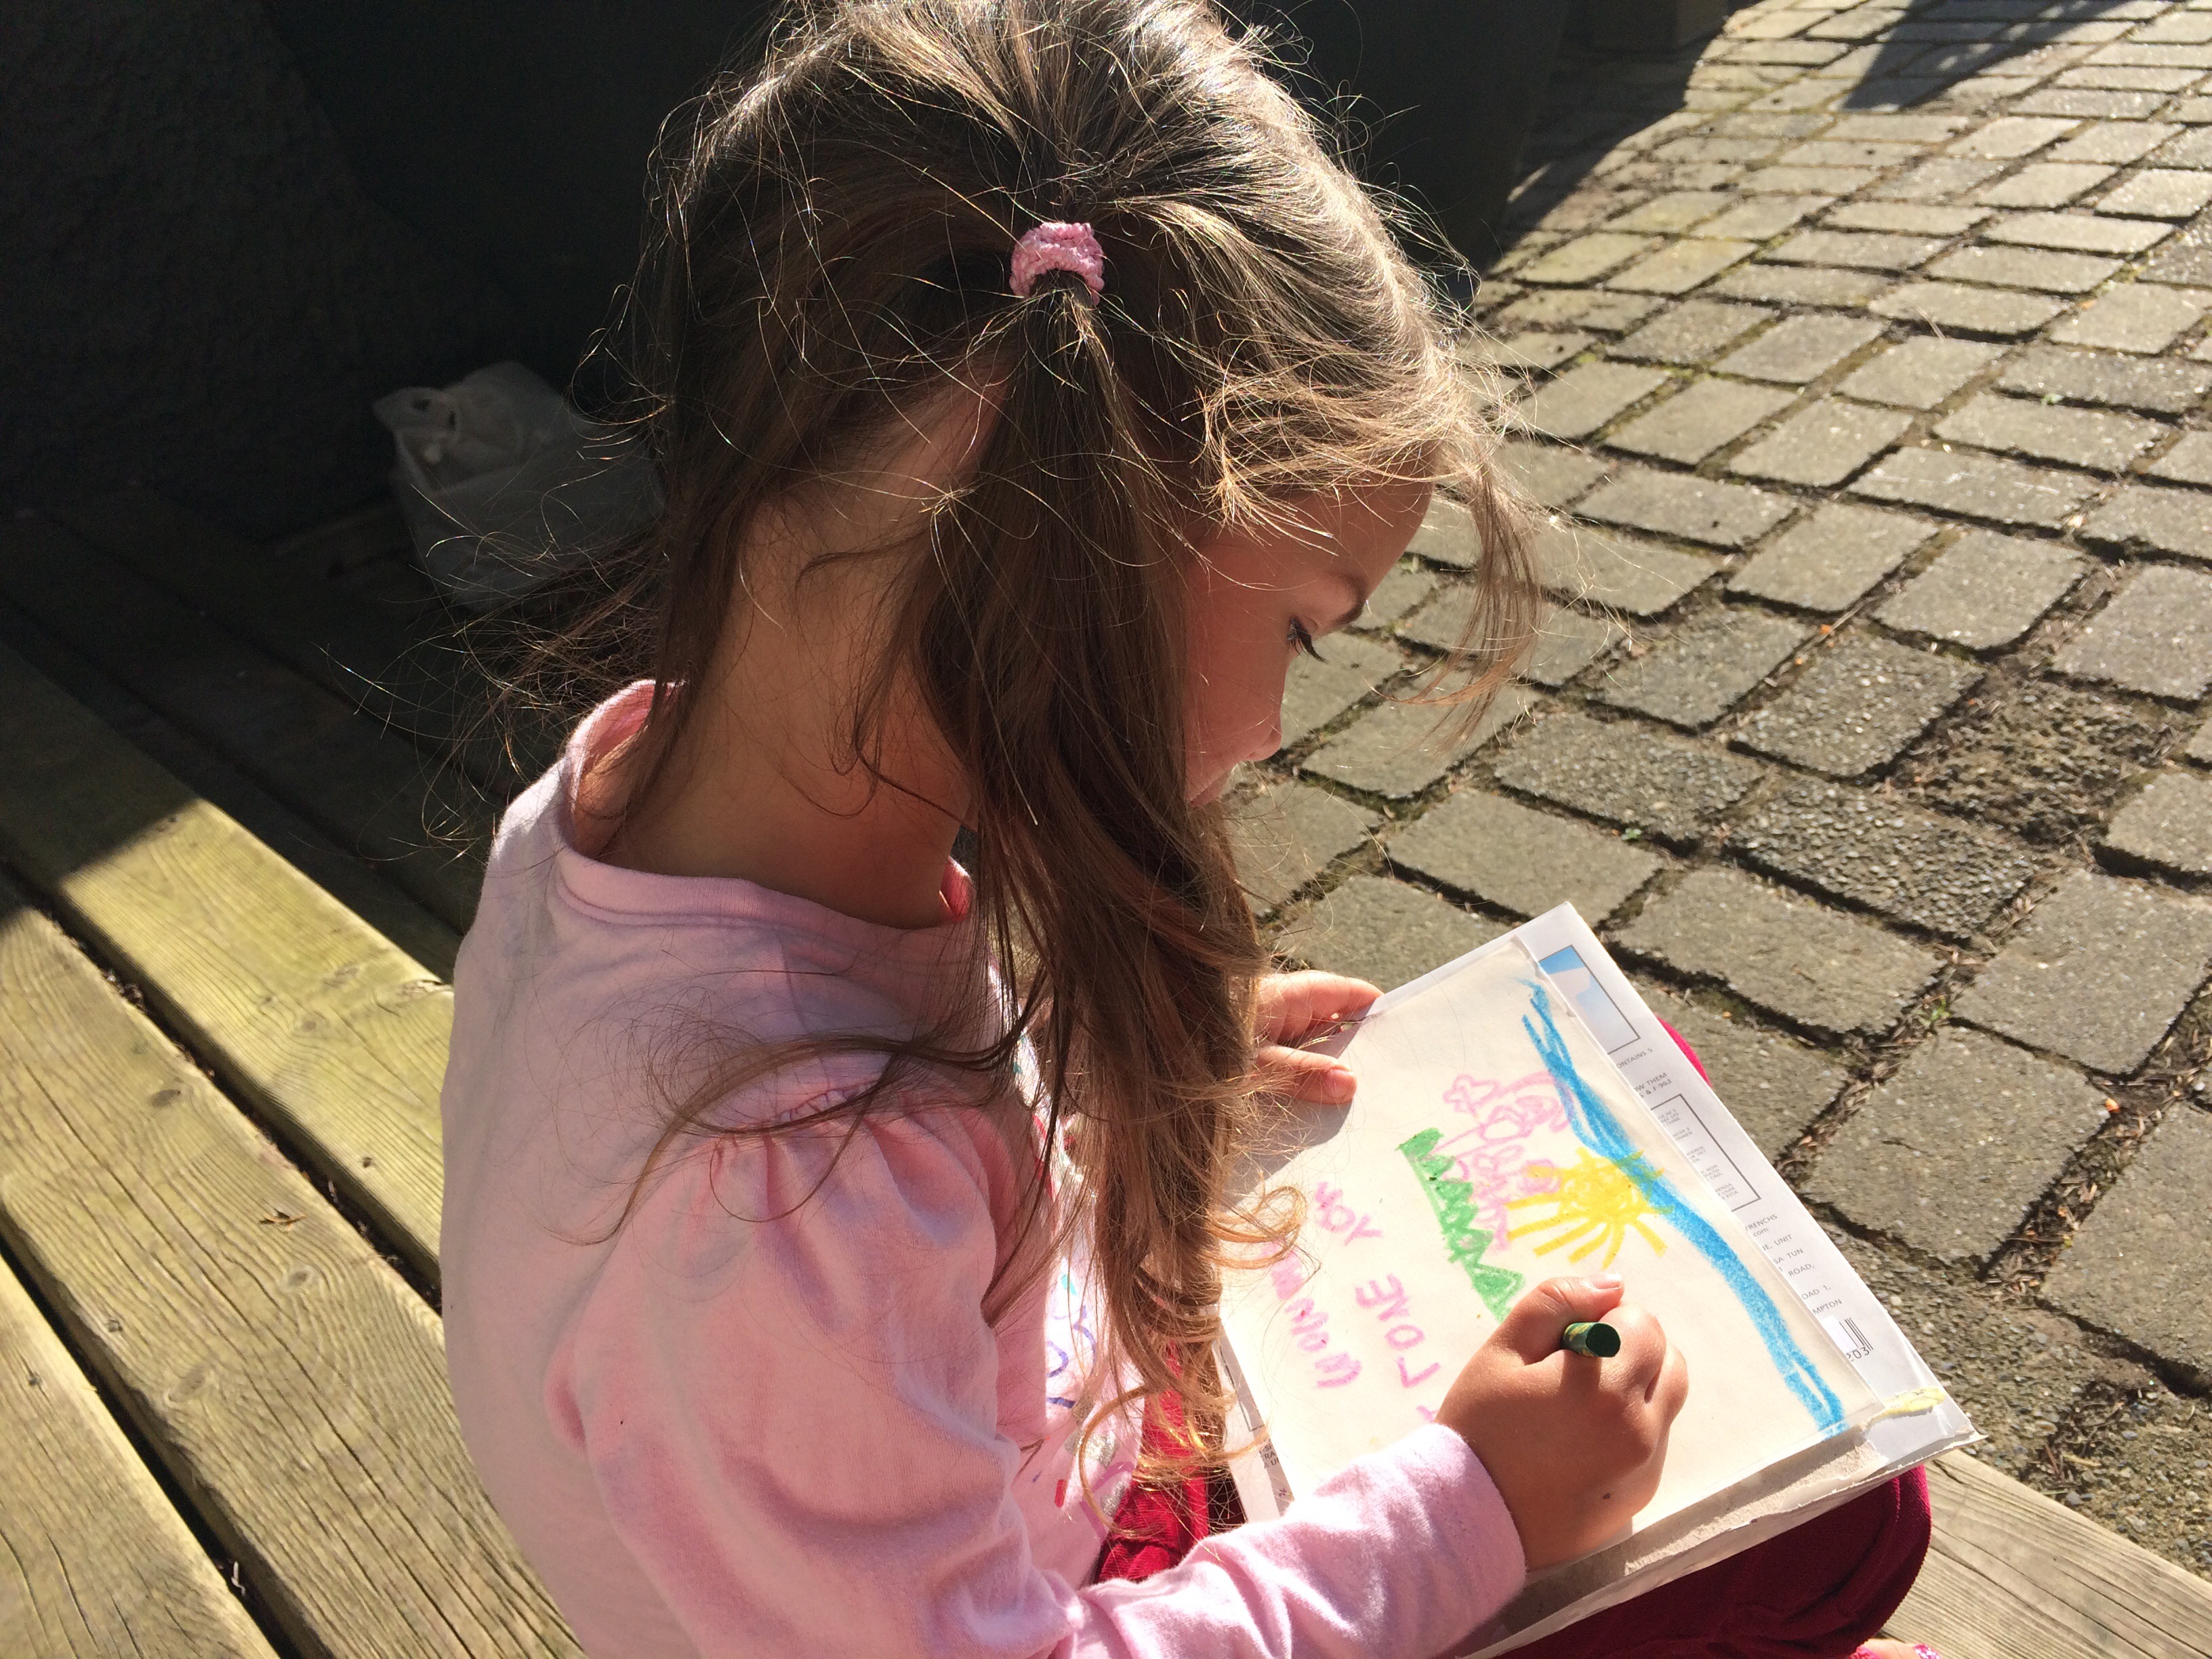
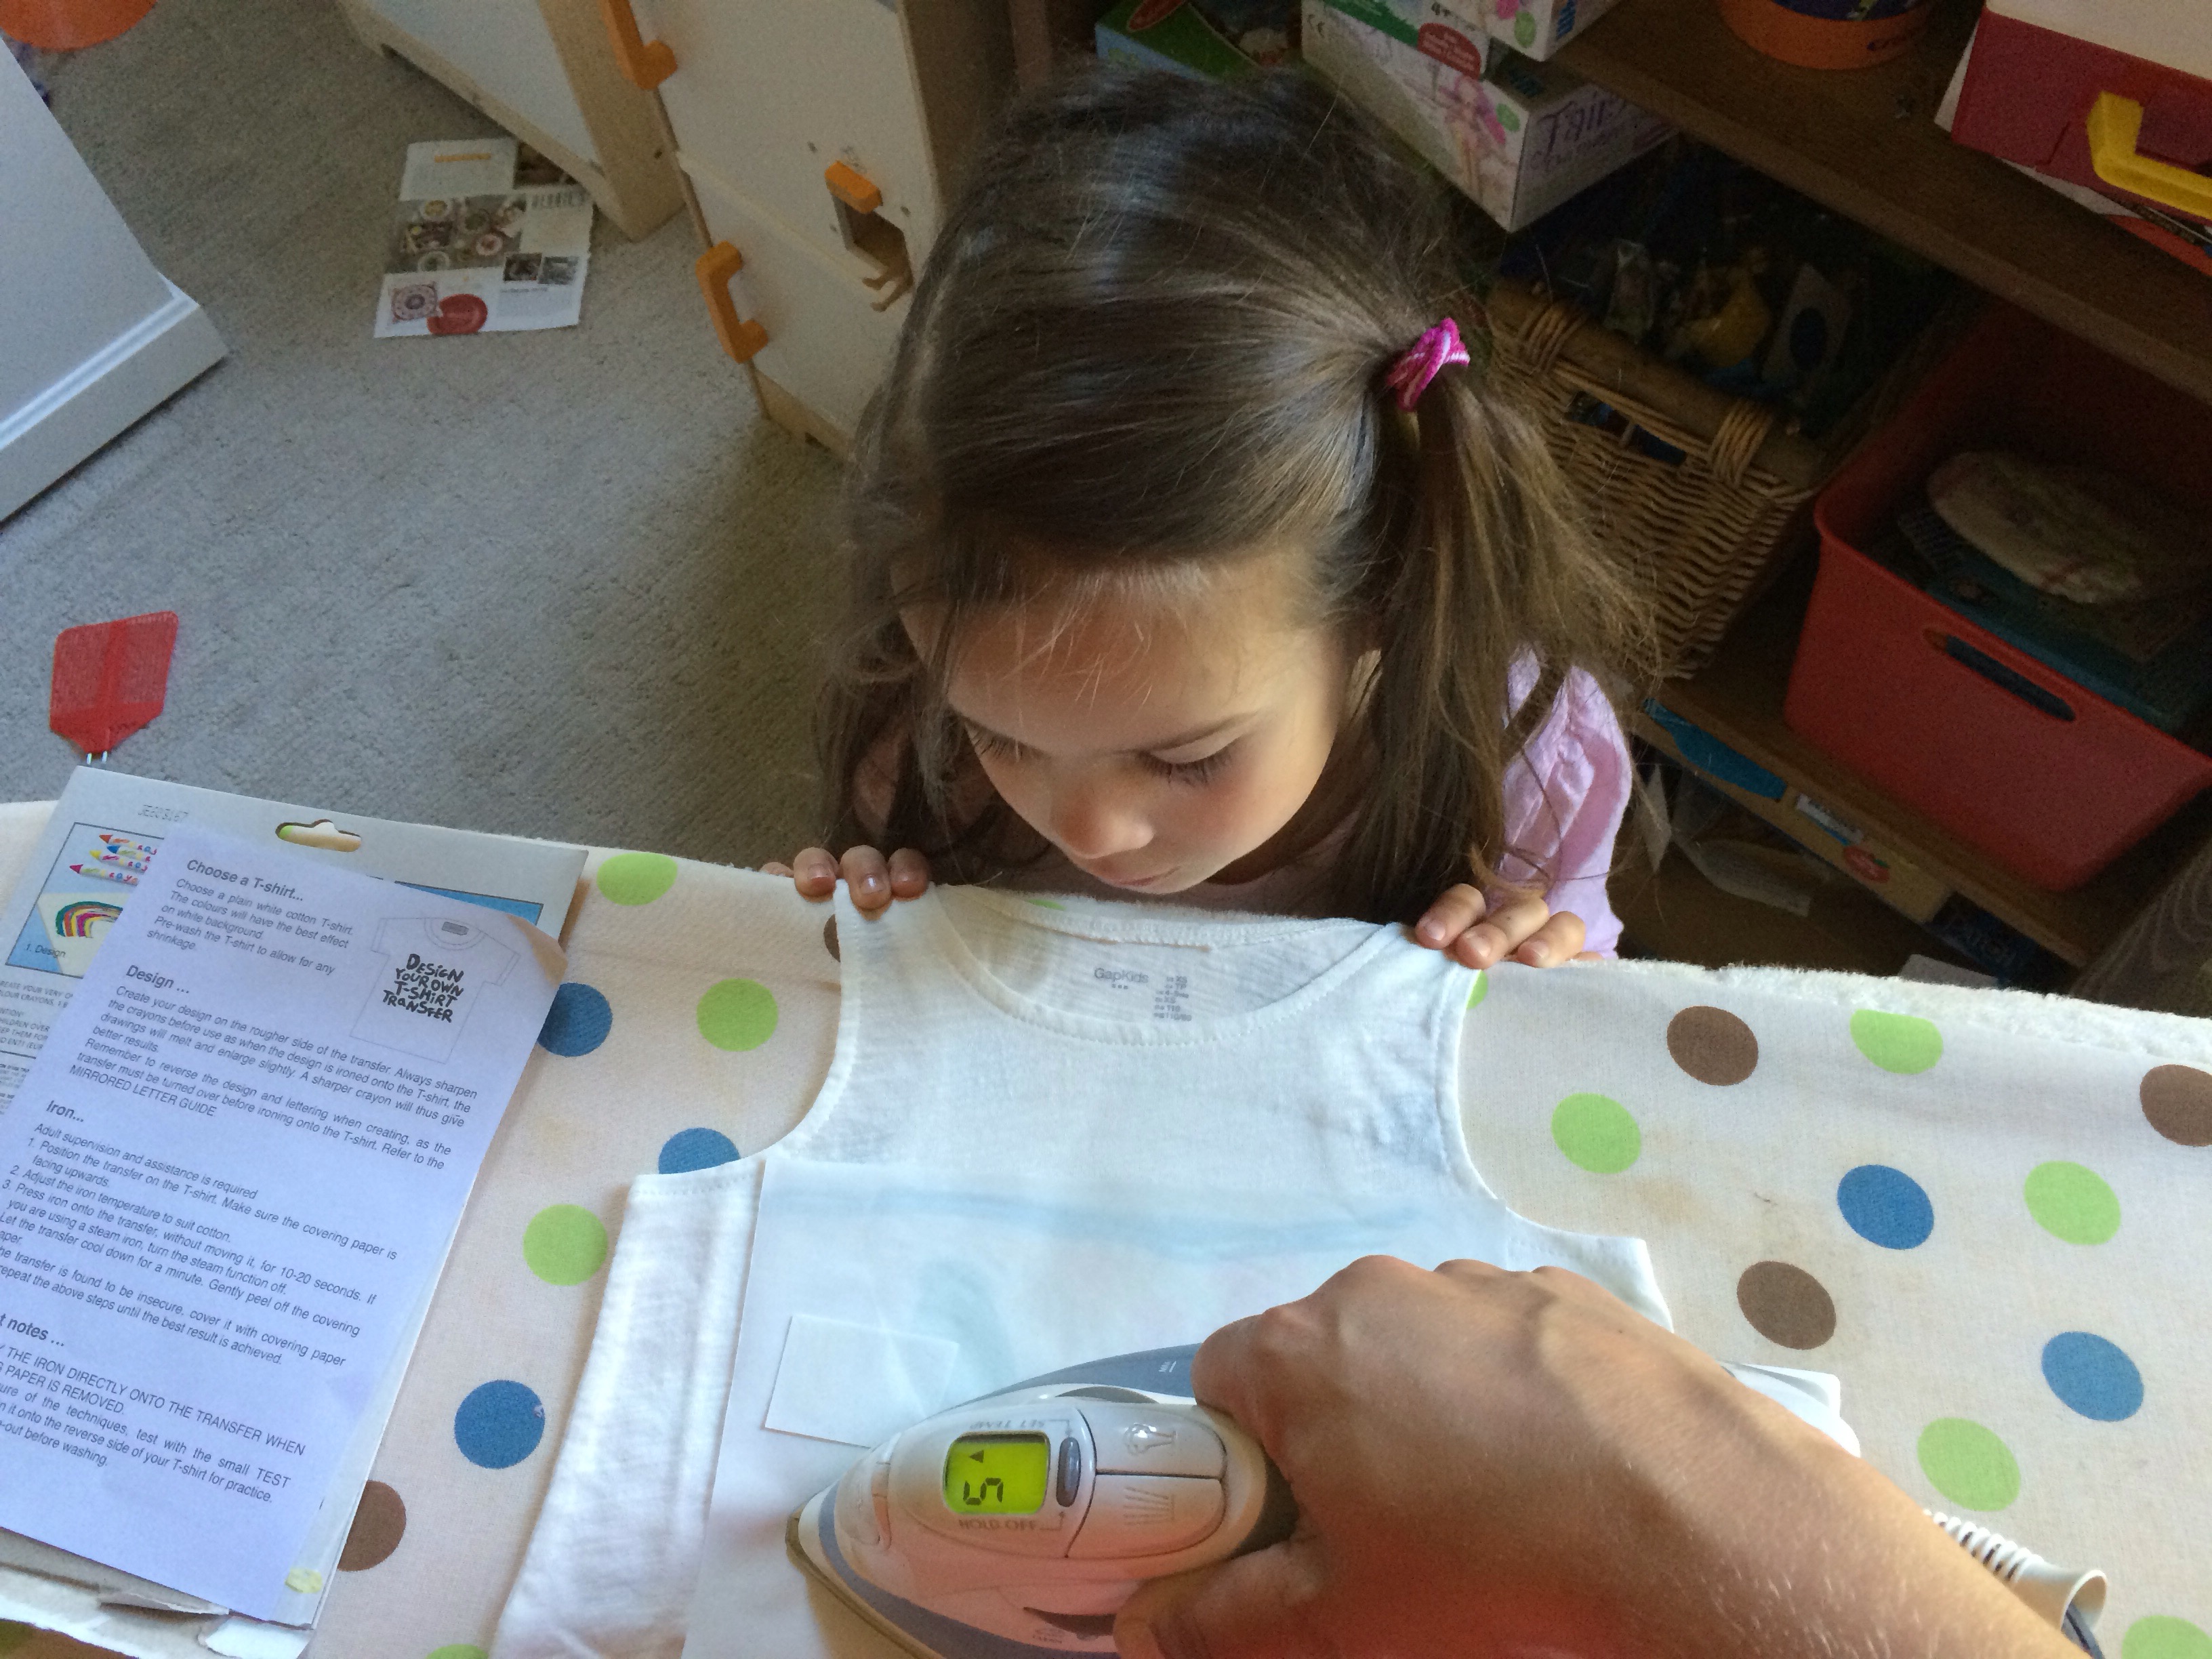
I wanted to set the tone right for the evening – not to be confused with one of those parties you attend for an hour and leave, this was to be a par-tay.  So – the invites were key – I made drink coasters as invites – I found a great website called Evermine  and was able to create awesome coasters for invites, and with pics of cam from his childhood for throughout the event.  Also sent evites from paperless post out so people had a reference point to look back to for the event when the coaster was turfed or lost.

We took the theme of Cam’s favourite things and ran with street food (one of his favs) which led us to tacos – and the opportunity to make halibut tacos and chicken carnitas.

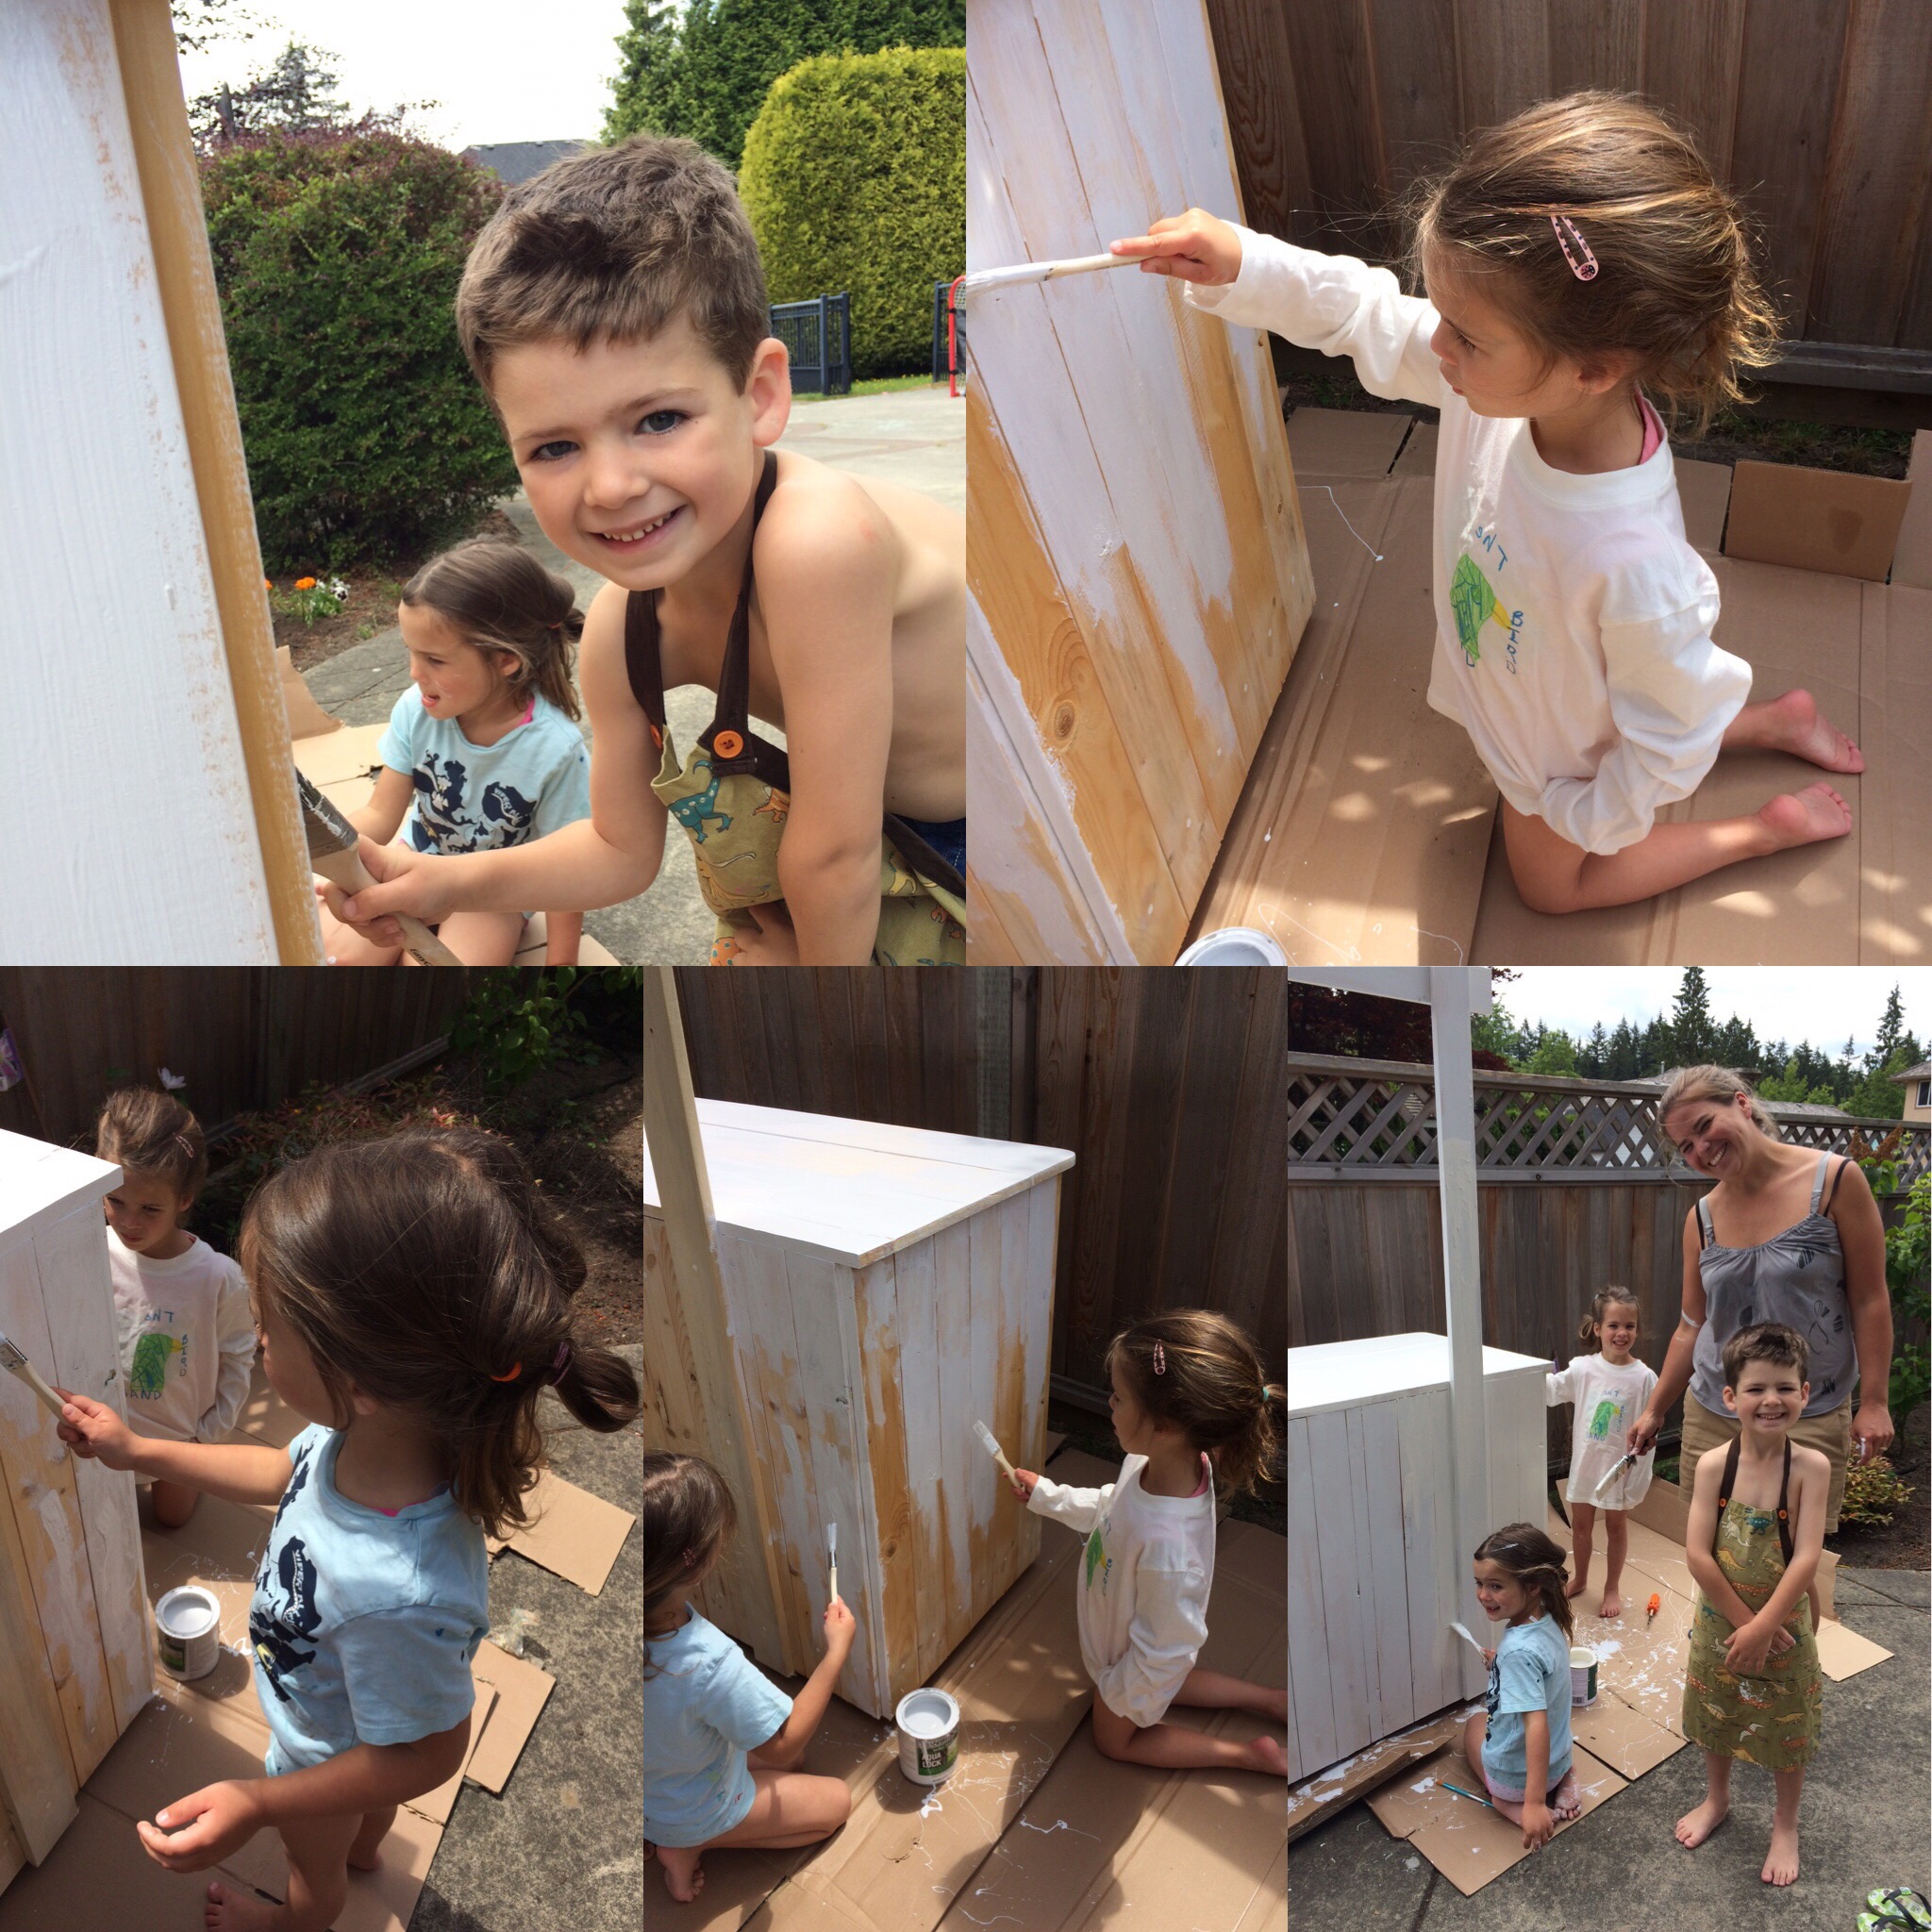
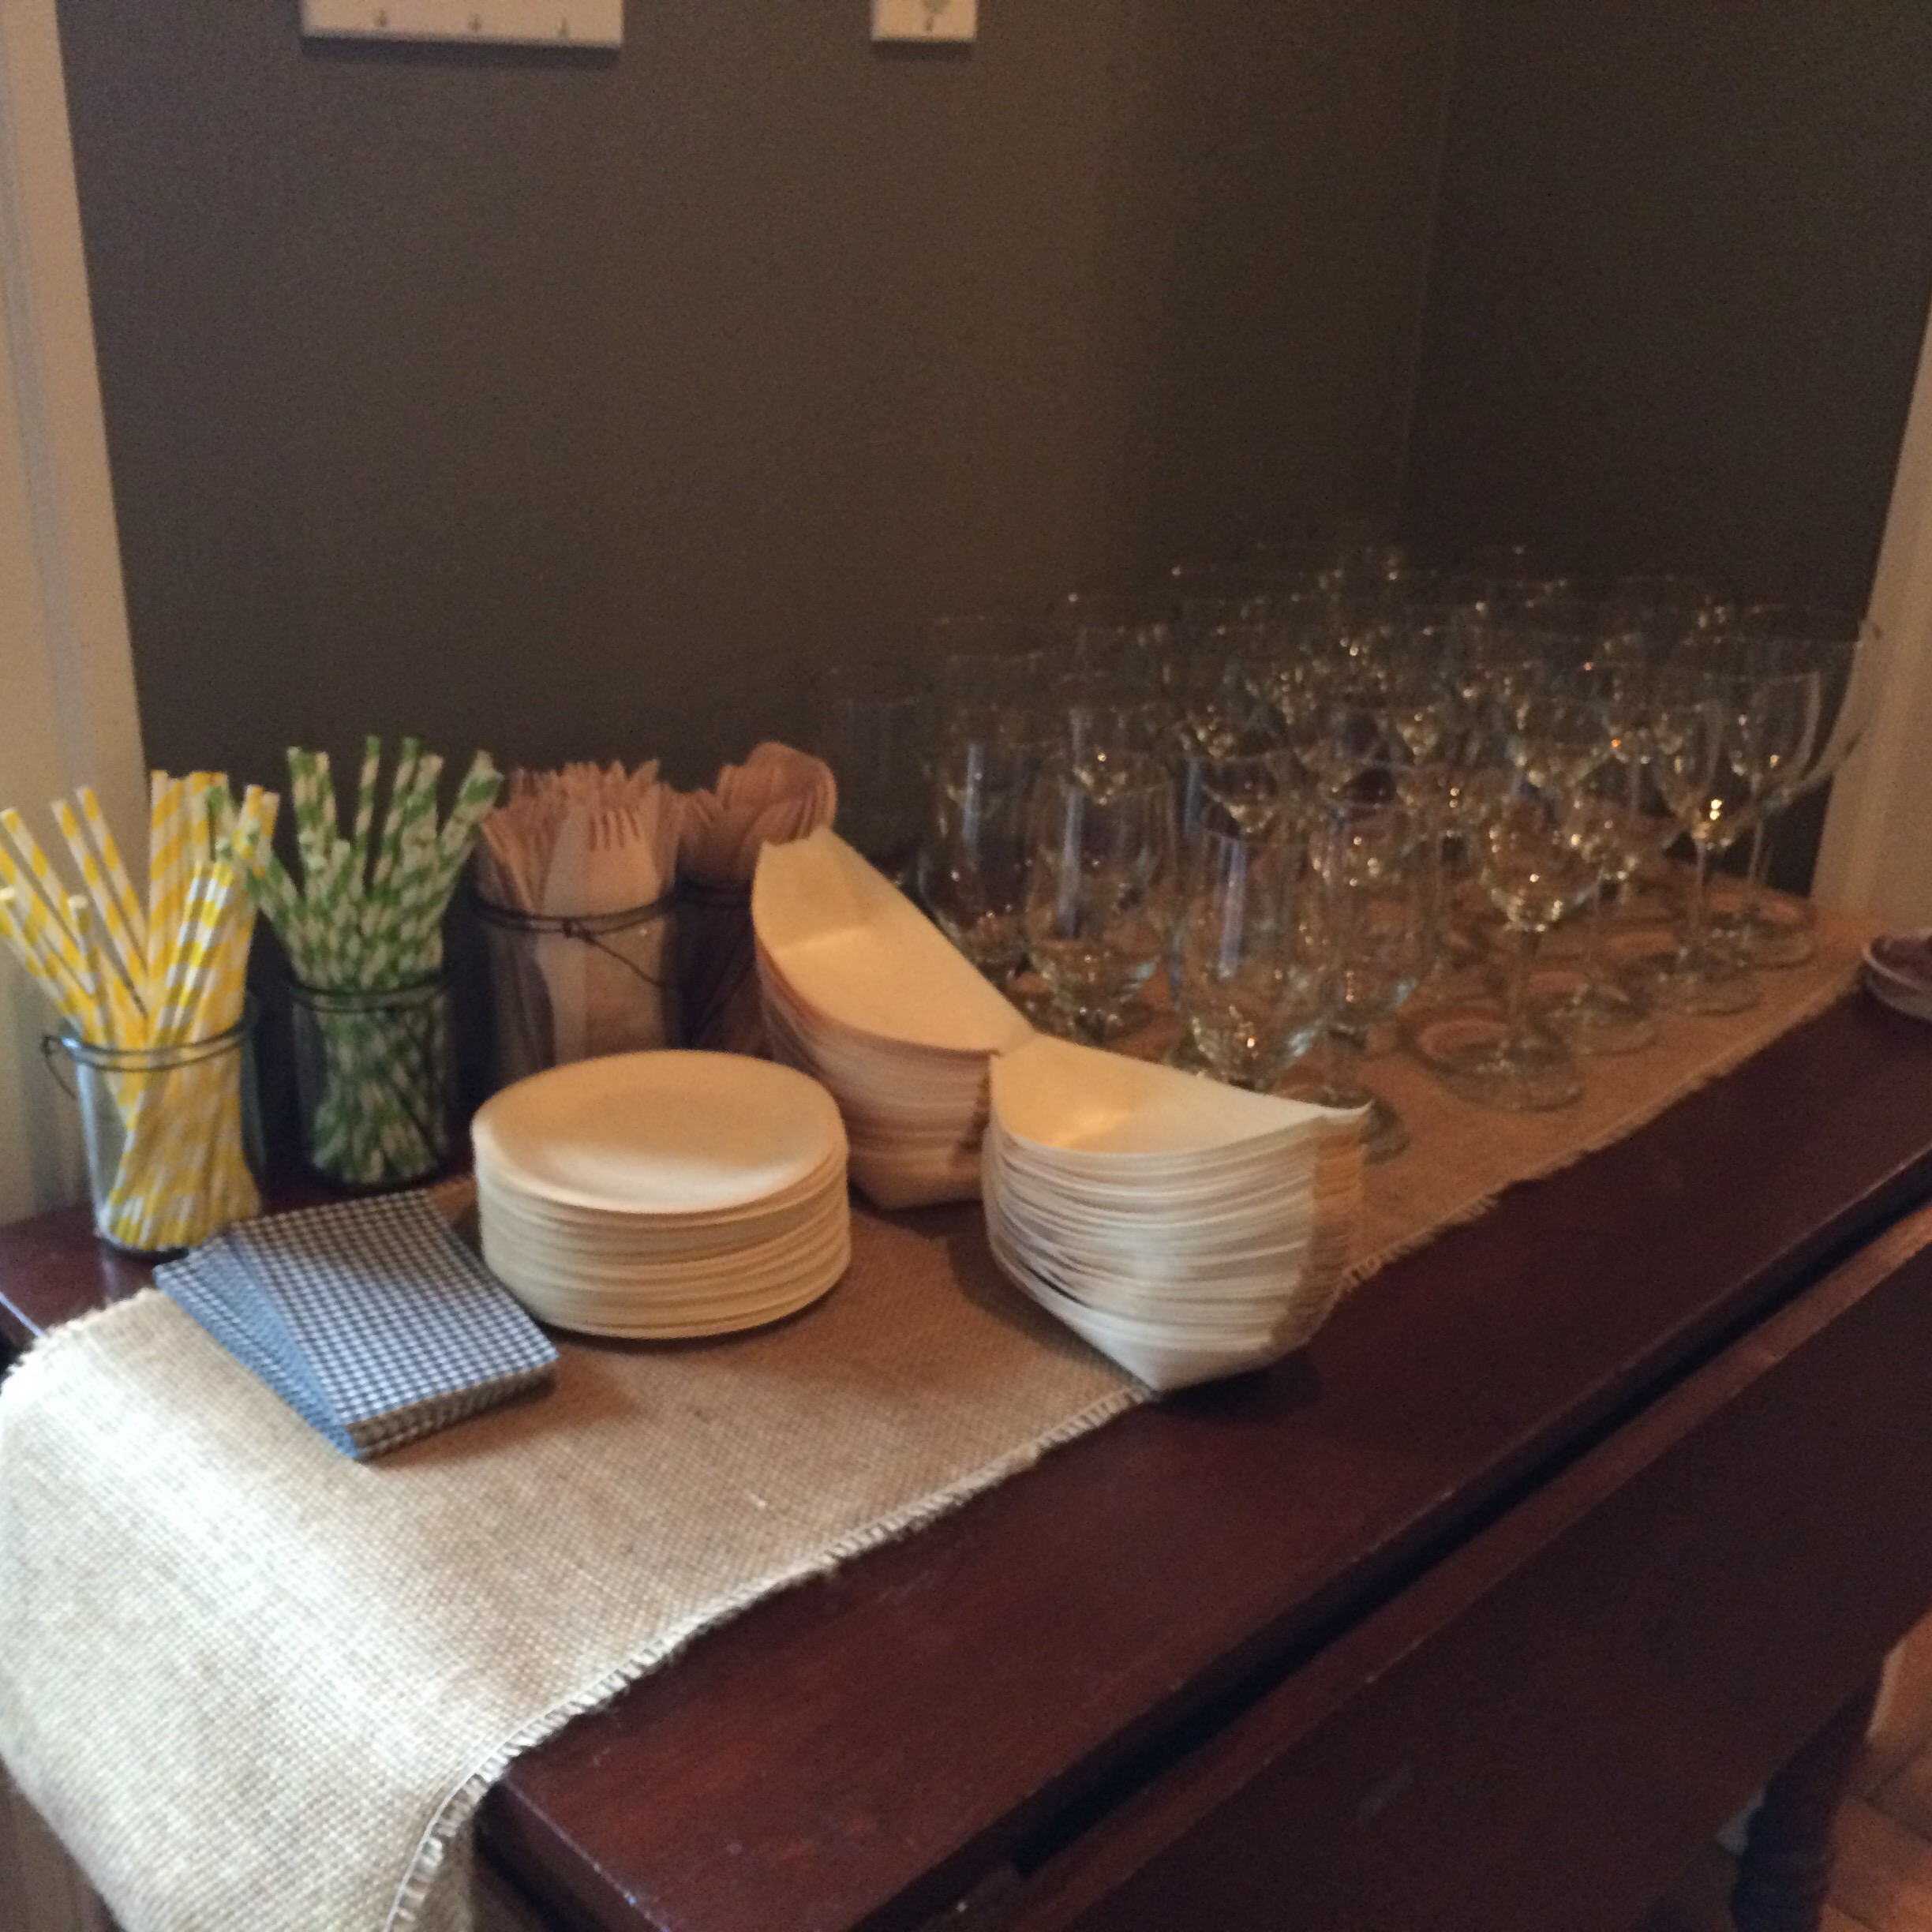
We had help from our neighbour building a super cool taco stand and the kids and I painted it, and some old pieces of wood with chalkboard paint to make the taco theme more authentic, and the signs for the bar/food/directions stand out. I ordered bamboo taco plates, cutlery and dessert plates through Bio & Chic and wooden planters, galvanized tubs for beer and pop shop drinks, and manly burlap table runners through save-on-crafts.  

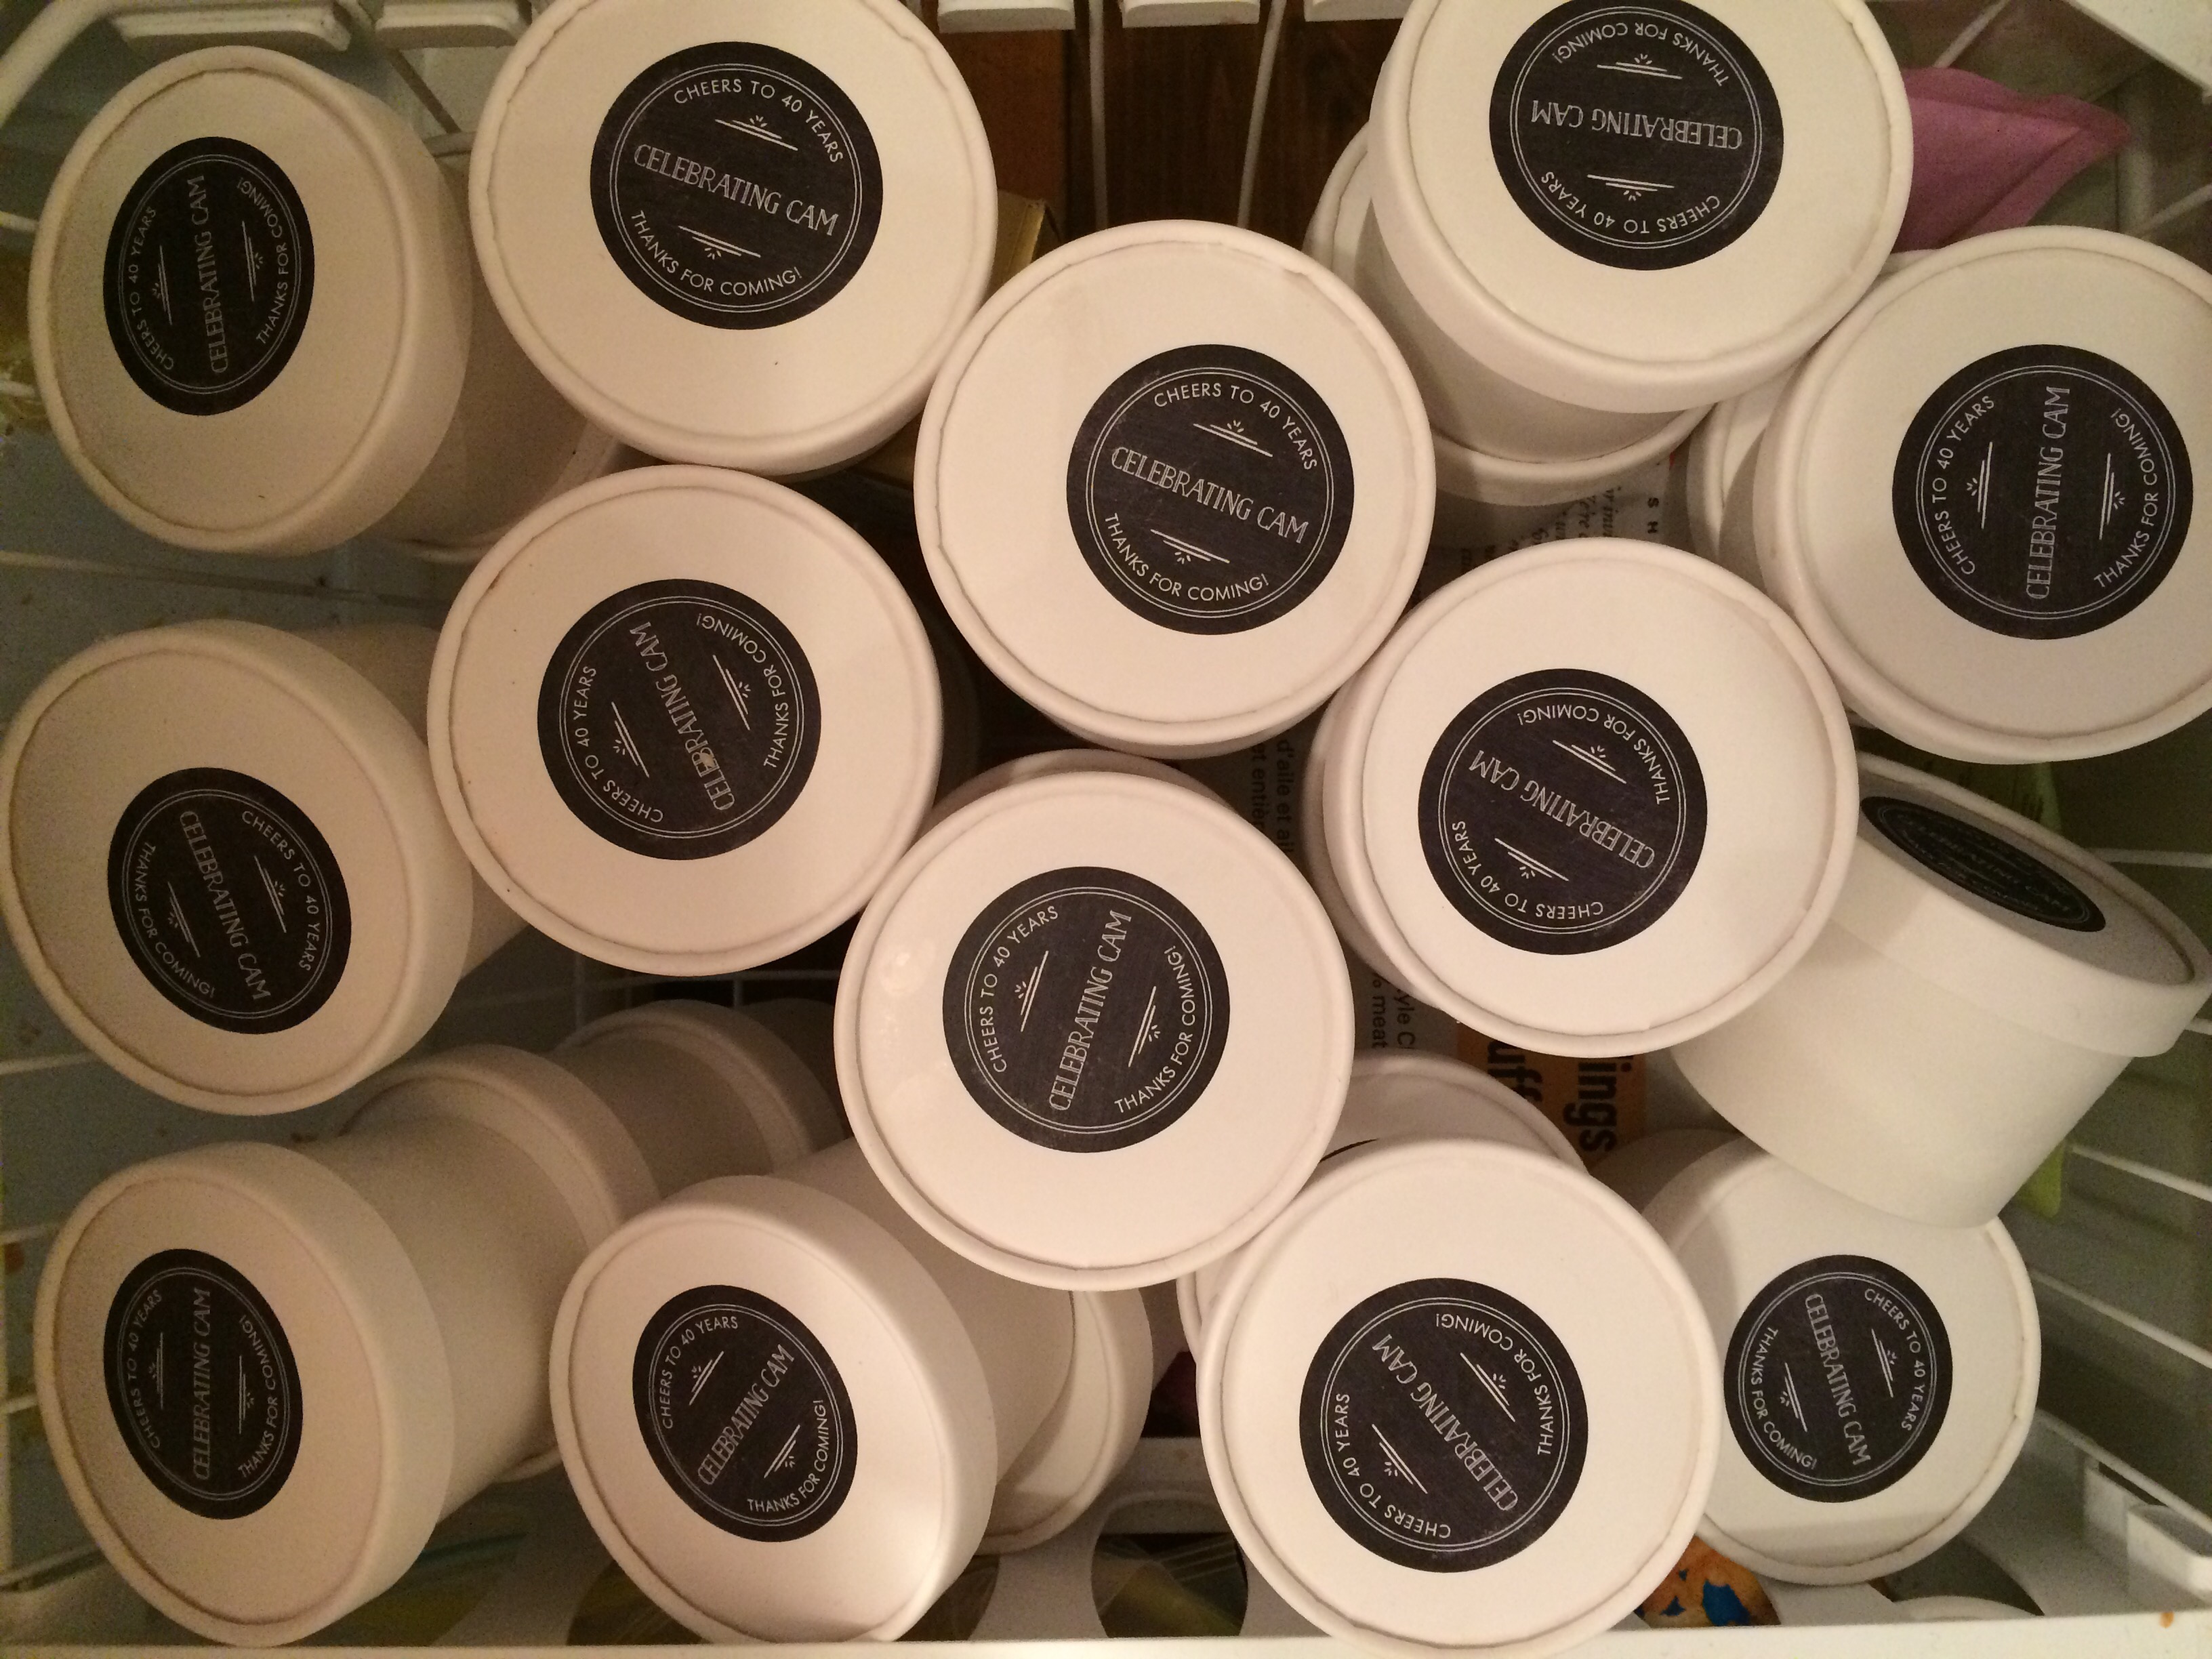
We had tacos a few nights in May, trying to perfect the recipe for both versions – and I got more and more excited as the party items started to roll in.  His favorite pops from lime soda to orange crush to old fashioned root beer, a bunch of local beer from Vancouver breweries that came highly recommended from colleagues and friends, a rented slurpee machine for slushy gin and tonics, containers for individual ice creams for dessert that my daughters and I would make, labels for the ice cream, water bottles, and more…


On the day of the event the rain was … powerful.  The tents we bought/rented for shade became rain canopies in our shifted plan from the main house to the “beer garden” garage set up.  The long tables we’d rented with 50 white outdoor chairs were changed the morning-of to high-boy tables and inside chairs. The games I had planned slid away with the mud down our eaves.

cam 40 rain

And then the time of the party came and the clouds broke and despite the weather networks’ 90% call for rain – the sun shone through for the whole evening. huh. My love/hate relationship with my weather ap continues …

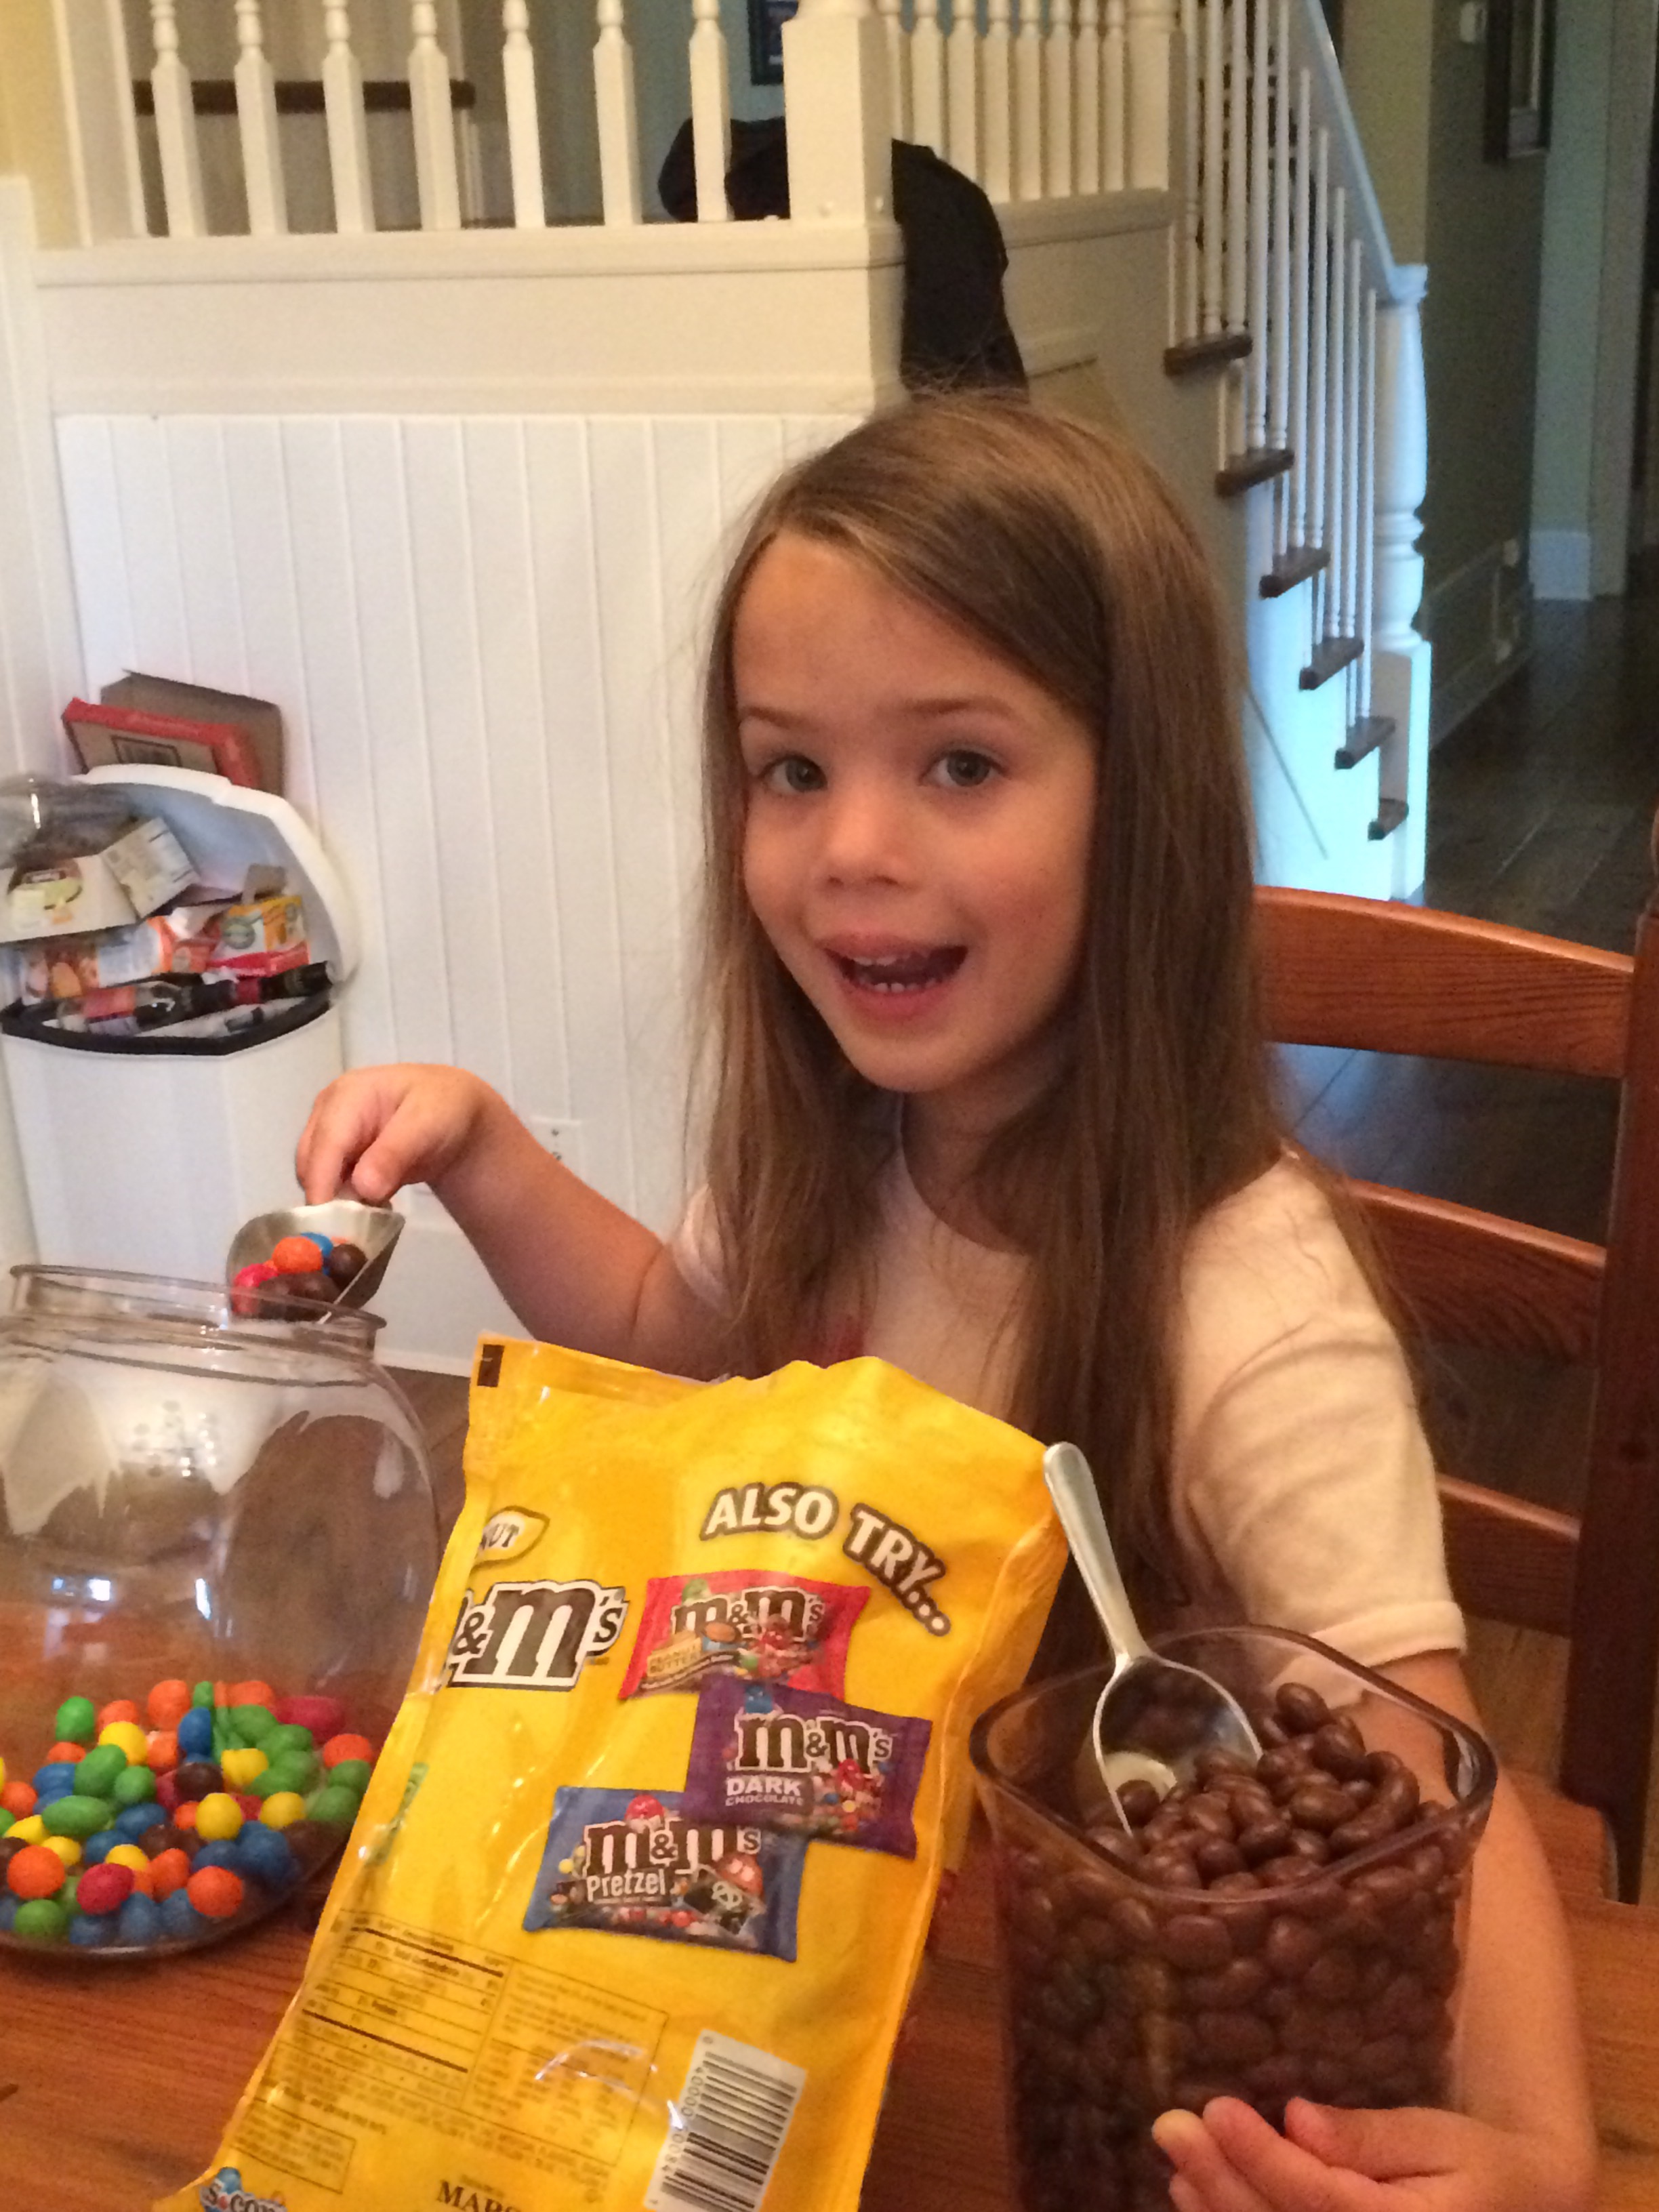
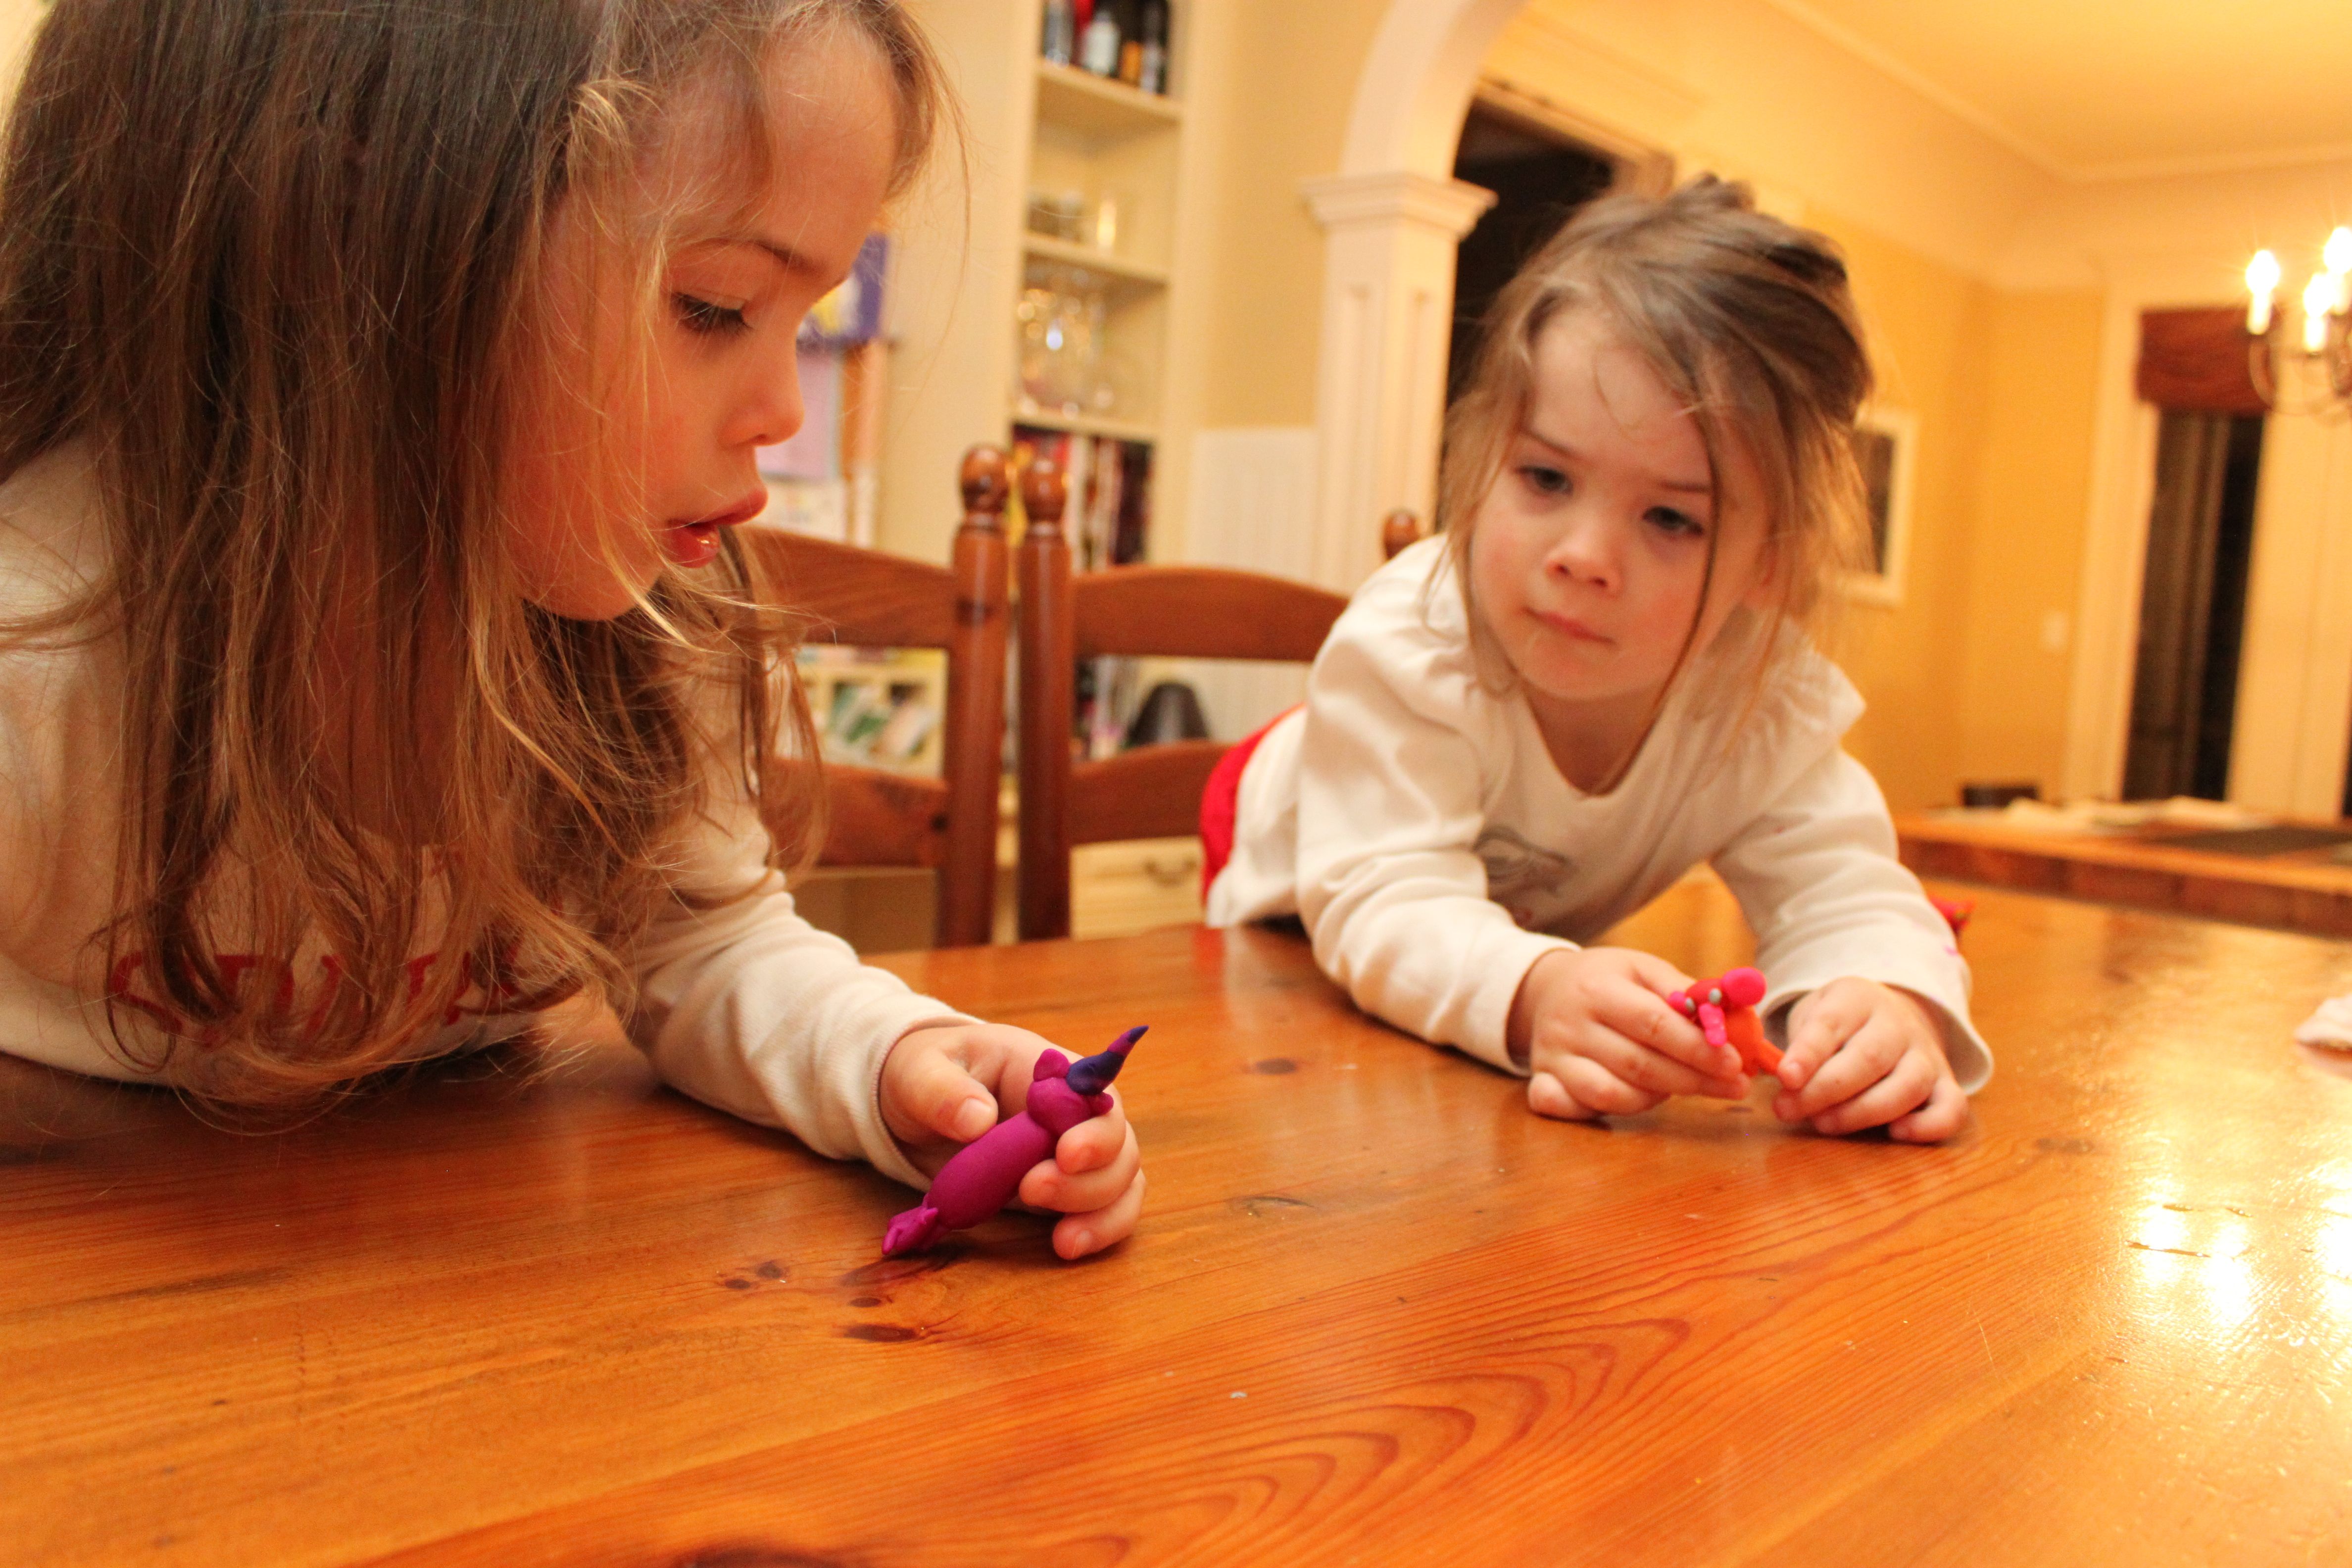
…did I mention there was a candy bar? I think that was the girls’ favorite thing to help make happen 😉

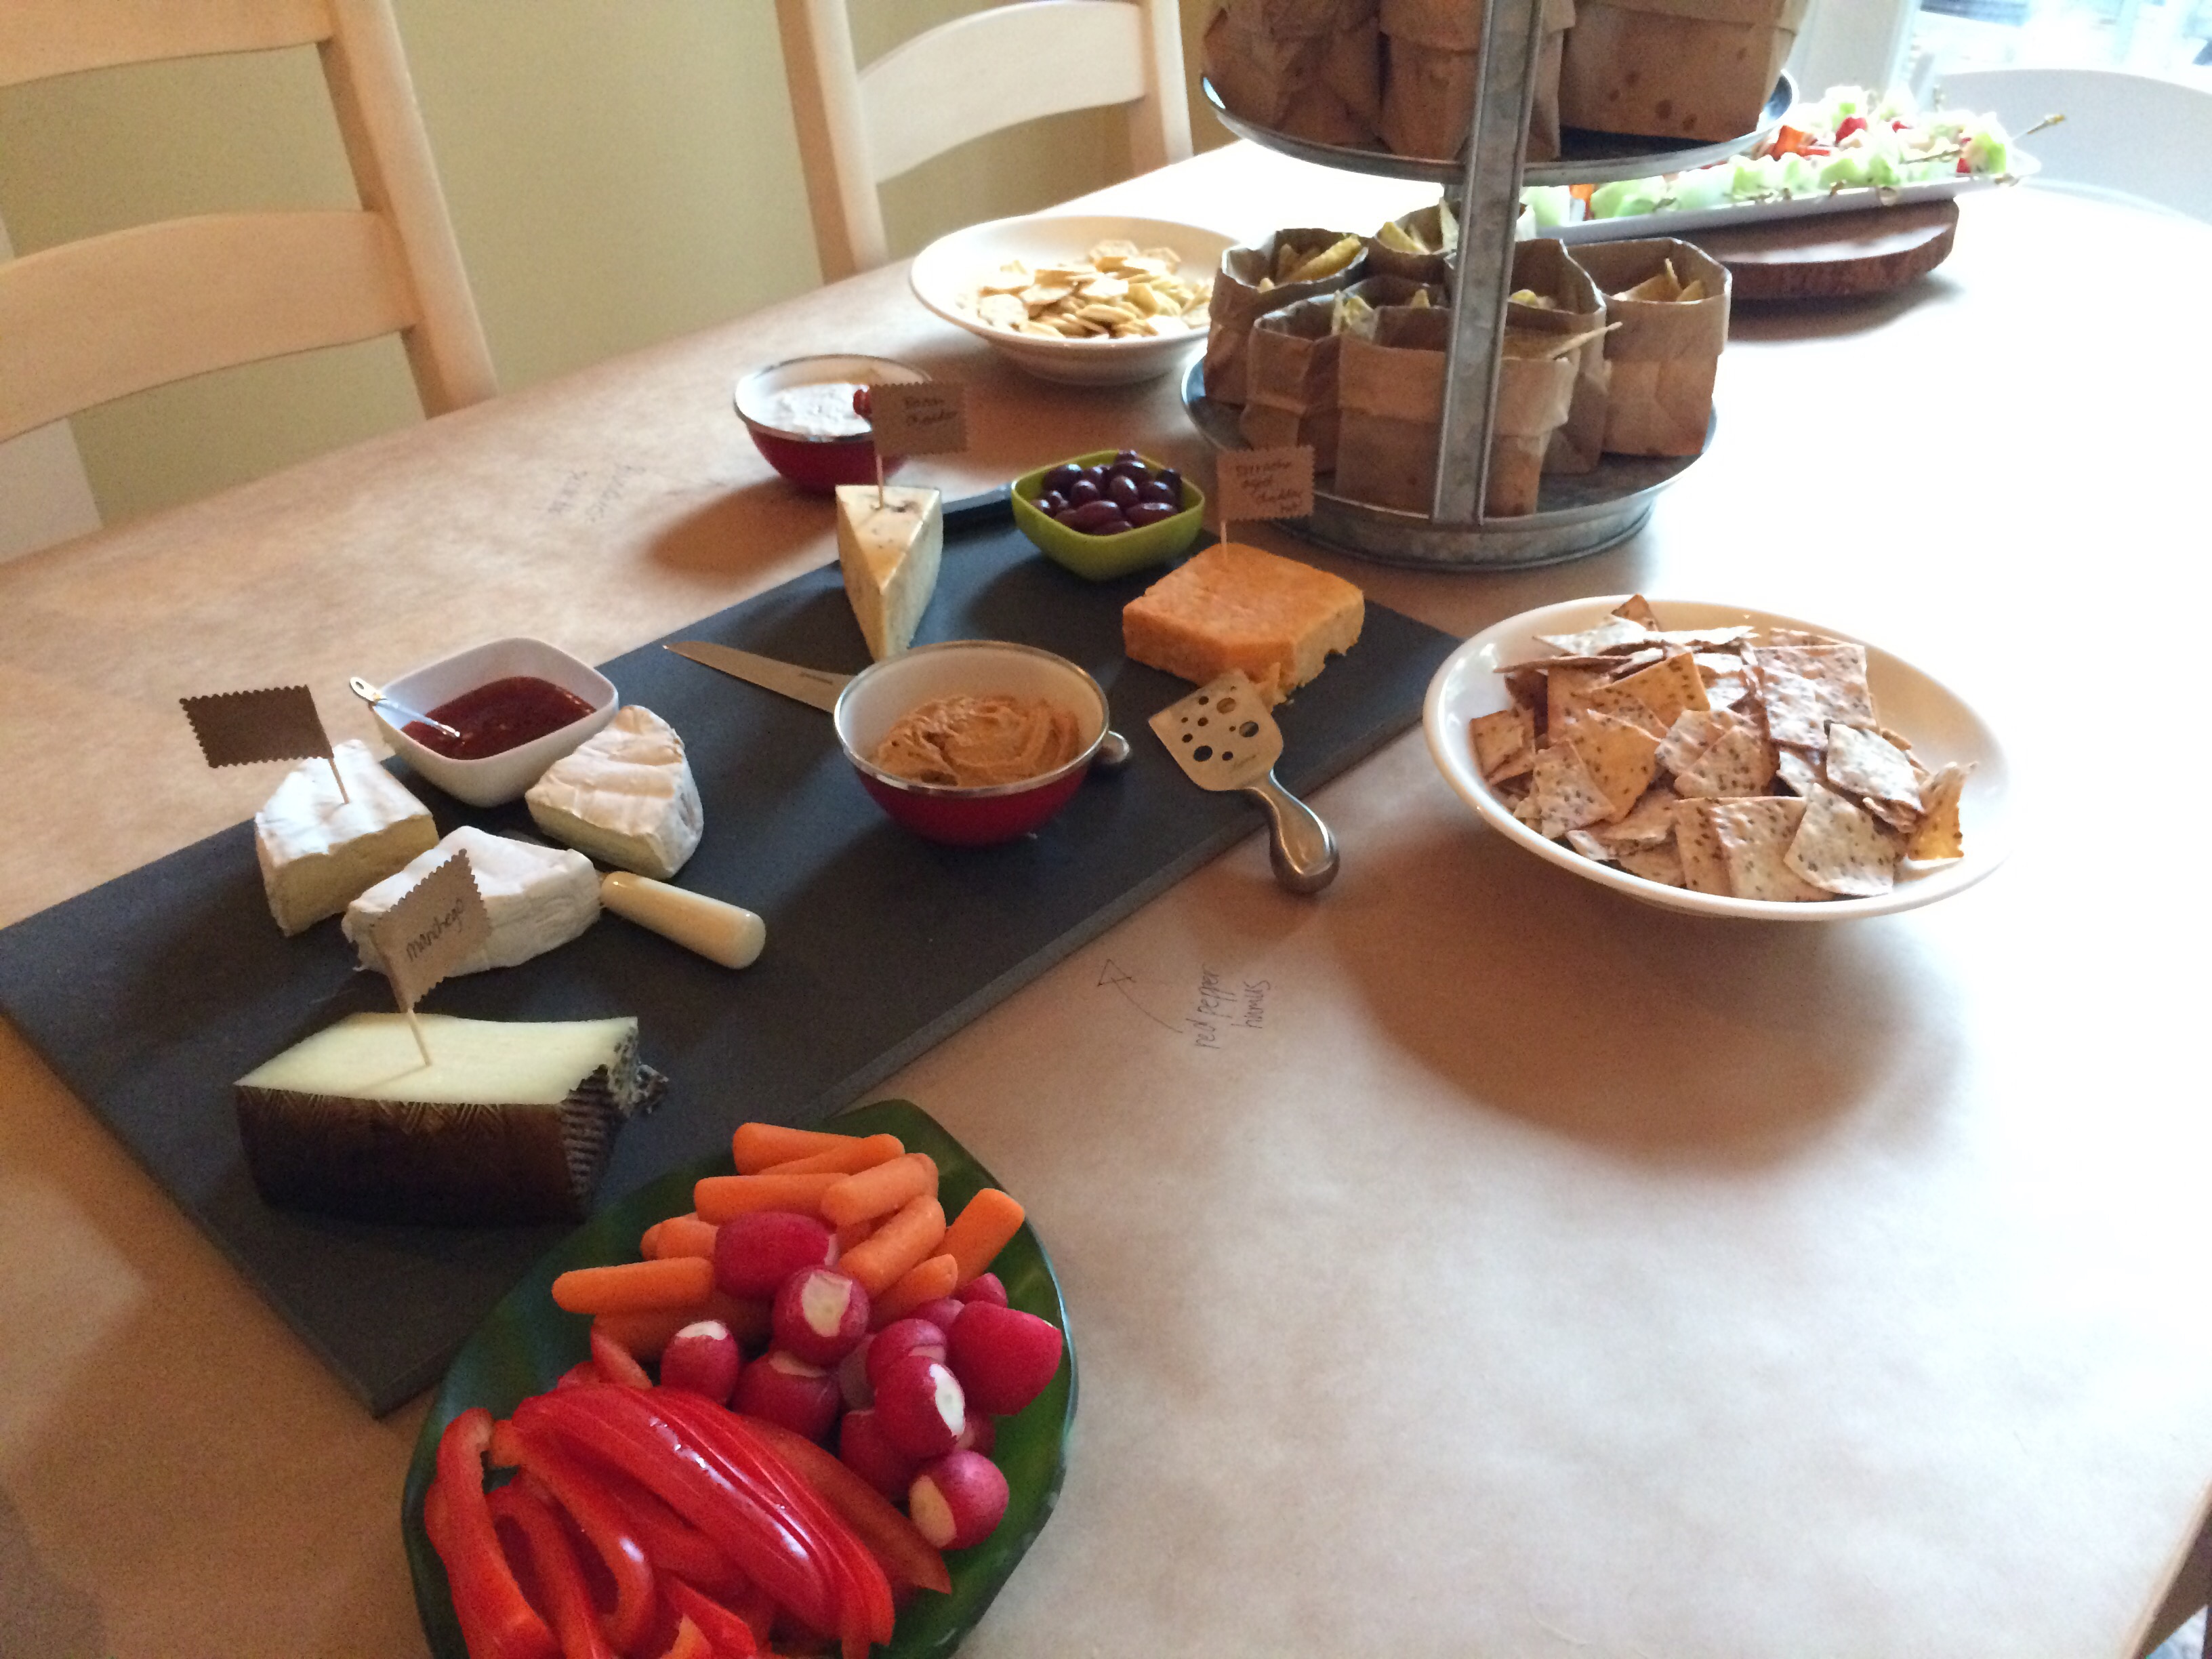
I said that the party was a success because of our amazing friends and family and that is very much true.  From my sister and mom who were guinea pigs for appies and various tacos to my mother-in-law who came in early and helped chop, cook, saute and broil, to friends who lent crock-pots, warming dishes, and mad tart and cake-making talents – to the relentless friends and neighbours who cleaned up as the night progressed and made the end of the night a breeze for us.  Most of all though, it was the fact that people came to celebrate Cam.  People we haven’t seen in months or years, made the effort to get out to see him, share a few laughs, and celebrate this incredible guy.  When I looked around throughout the night I just felt … lucky and blessed.  So many good people.  Such easy laughter and conversation. Such a great smile on cam. Such a good night.

cam 40

Kid diy screen printing

That whole “I do it” phase most certainly did not end with self-feeding or dressing … It crept into everything from teeth brushing to pushing the shopping cart to writing the answers to everything … In marker. And now Matt wants to bake and use the oven on his own and K and C want to turn on the tv, iPad, computer, phone and find what they want there as well. I find at six and four and a half parental controls and use (or not) of options is already getting tricky… So lord help me in ten years when the “I do it” de jour is driving for Matty and make up for the girls… I need to get good locks on our doors – or a tougher backbone.  

In the meantime though, I’m always happy to have those strong self moments expressed through our kids creativity – so I loved when I found cheap ($5 each) iron on transfer packages that allowed kids to colour their own design/message.  

the transfer paper and crayons

 
We had white shirts from a sale a few weeks earlier and I showed the kids through a mirror how to backwards print and why. They made their own designs and chose where on the shirt to position each one.   


I ironed and they peeled away the backing …eh voila! A great kid diy project.  
  

  … And yes Kate and Charlie chose to write who they loved on their frocks while our little rocker replicated a logo he’d designed for his pals’ band and made the first of many groupie shirts for the “bird band”.


what I love about Sculpey/Filmo

I will admit to never having bought into the play-dough “extras”.  The ‘hair salon’ or ‘road builder’ or ‘baking’ plastic making machines that made tiny pieces that you needed to put together meticulously.  Painful.  Hard to clean up.  Yelch. The most fun part for us (or maybe more me?) has always been making the actual play dough. I wrote about it last year with an easy recipe.

Our kids are good with the cardinal rule of colour separation in the play dough world and they like to create with it – but they never want to put their creations away.  So we have zip lock bags (keeps the dough from hardening) of little masterpieces and half containers of colours…  I will often find rotting play dough (the home made kind does rot after a time) and that’s not any more fun than finding the lunchtime surprise that stayed in the bottom of a backpack for a week too long …

Which brings me to my love of Sculpey.  You can bake it and it hardens to become a fun creation that turns a crafting moment into a pretty fun playmate (and doesn’t rot).

sculpey elephant sculpey unicorn turtle design

On this particular day Matt was on a sea animal bent – and this was his sea turtle (having already completed a whale, shark, sting ray and dolphin) and the girls wanted to make unicorns and elephants.

Filmo or Sculpey (I don’t have a personal preference over brand) are great – but much harder in texture than play dough. It requires kids to roll the clay in their hands in order to soften it enough to mold.  The whole rolling motion (and the patience factor) can be a learning curve but they sure are proud of themselves when they get the hang of it.  It’s a good little skill builder.  I think it’s still a little tough for a 3 year old to roll and warm all the colours so I help the girls by making balls for them and then they shape them into heads, bodies, feet, eyes, unicorn horns etc.  They pick the colours and body parts and they shape and stick together – I’m just the grunt work girl.  Matt will not have any of his mom’s interventions … his creations are all him.

I showed you our veggies that we made using FILMO last year for our veggie garden signs.  And this year we’ve made little bugs and butterflies for barrettes, tons of animals and recently some bunnies and duckies.  Matt’s is the bunny in the middle below.  The girls wanted nicely rolled balls to work with and make their faces and bellies and ears etc – Matt just took a hunk and went and built his own bunny. I love all three and how they each represent our kids’ personal styles (Kate has the bent ears and Charlie’s are straight with perfect little pink inserts in the ears)

bunnies

Packages of Filmo and Sculpey say different things about cooking temps and times – but I follow one simple rule of thumb when baking 275 degrees.  15 minutes per 1/4 inch of thickness of your creation.

After we finish and bake them – they cool really quickly and the kids will often play with their newly created pals.

Just an idea if you’re looking for some spring break indoor play.  It’s great for a rainy day – and I think girls and boys love it equally as long as they get an idea to make something really cool that appeals to them.  You can get clay like FILMO or Sculpey at almost any craft store.

Tomorrow while the girls and I make beads from clay, Matt is determined to make a hockey player… we’ll see how it turns out!

sculpey play