Skip to content

Trial and Error

That’s really what it’s all about – isn’t it? Parenting.

Being brave. Putting out the time, energy, money, and ego – to try something new… all the while knowing it might fail or need a re-boot?  First time on ice skates, first time at swimming lessons, first time trying new food, first time on an airplane… The thing I find most interesting about the trial and error of parenting is that there are really very few constants.  In fact you might just be the only constant.  There are so many variable factors; mood, time of day, age, number of people present… so when you do get it right – it’s nearly impossible to duplicate! The joke is on us if we think we can actually have control over this part of our lives.  I find the universe laughing at me almost daily, in fact.  I remember when Matt was a baby – once we figured out the whole sleep thing we tried to create the exact same setting every night… same bath time, same lighting setting, same noises, same songs, and as most of you have already figured out well before we did – that builds fabulous little creatures who control your every moment … and then 2 months goes by and their world shifts and everything that once worked no longer does. Gotta love it.

Now a days there is so much on the go for us that we find ourselves being able to plan and control less (I’m still a crazy planner – but LESS is the operative word) – and most days it actually means life is a little more smooth. Chaotic, yes. Unexpected, always. But I am slowly finding when I plan less for the outcome I expect, I am less invested in THE outcome, and just invested in AN outcome.  Matt just started playing soccer in a big boy league.  We know he loves to play.  At the first practice though, he cried… too many new people, too much pressure.  So I went out and played the whole practice as his partner. Not really what  I was hoping would happen but at least he got out there and played… by his first game he knew everyone’s name and was having a blast running around – didn’t score once – but he loved cheering everyone on by name and running all over the place. Okay – I can work with that. Not what I would have planned for but it’s great non-the-less.matt front


We had some Easter trial and error this week as well.  We all painstakingly painted the salt-dough eggs we made with acrylic paint – they were masterpieces (remember this post?).  We hung them out last weekend on our deck and loved looking at them all over our patio in the sunshine. hanging eggs

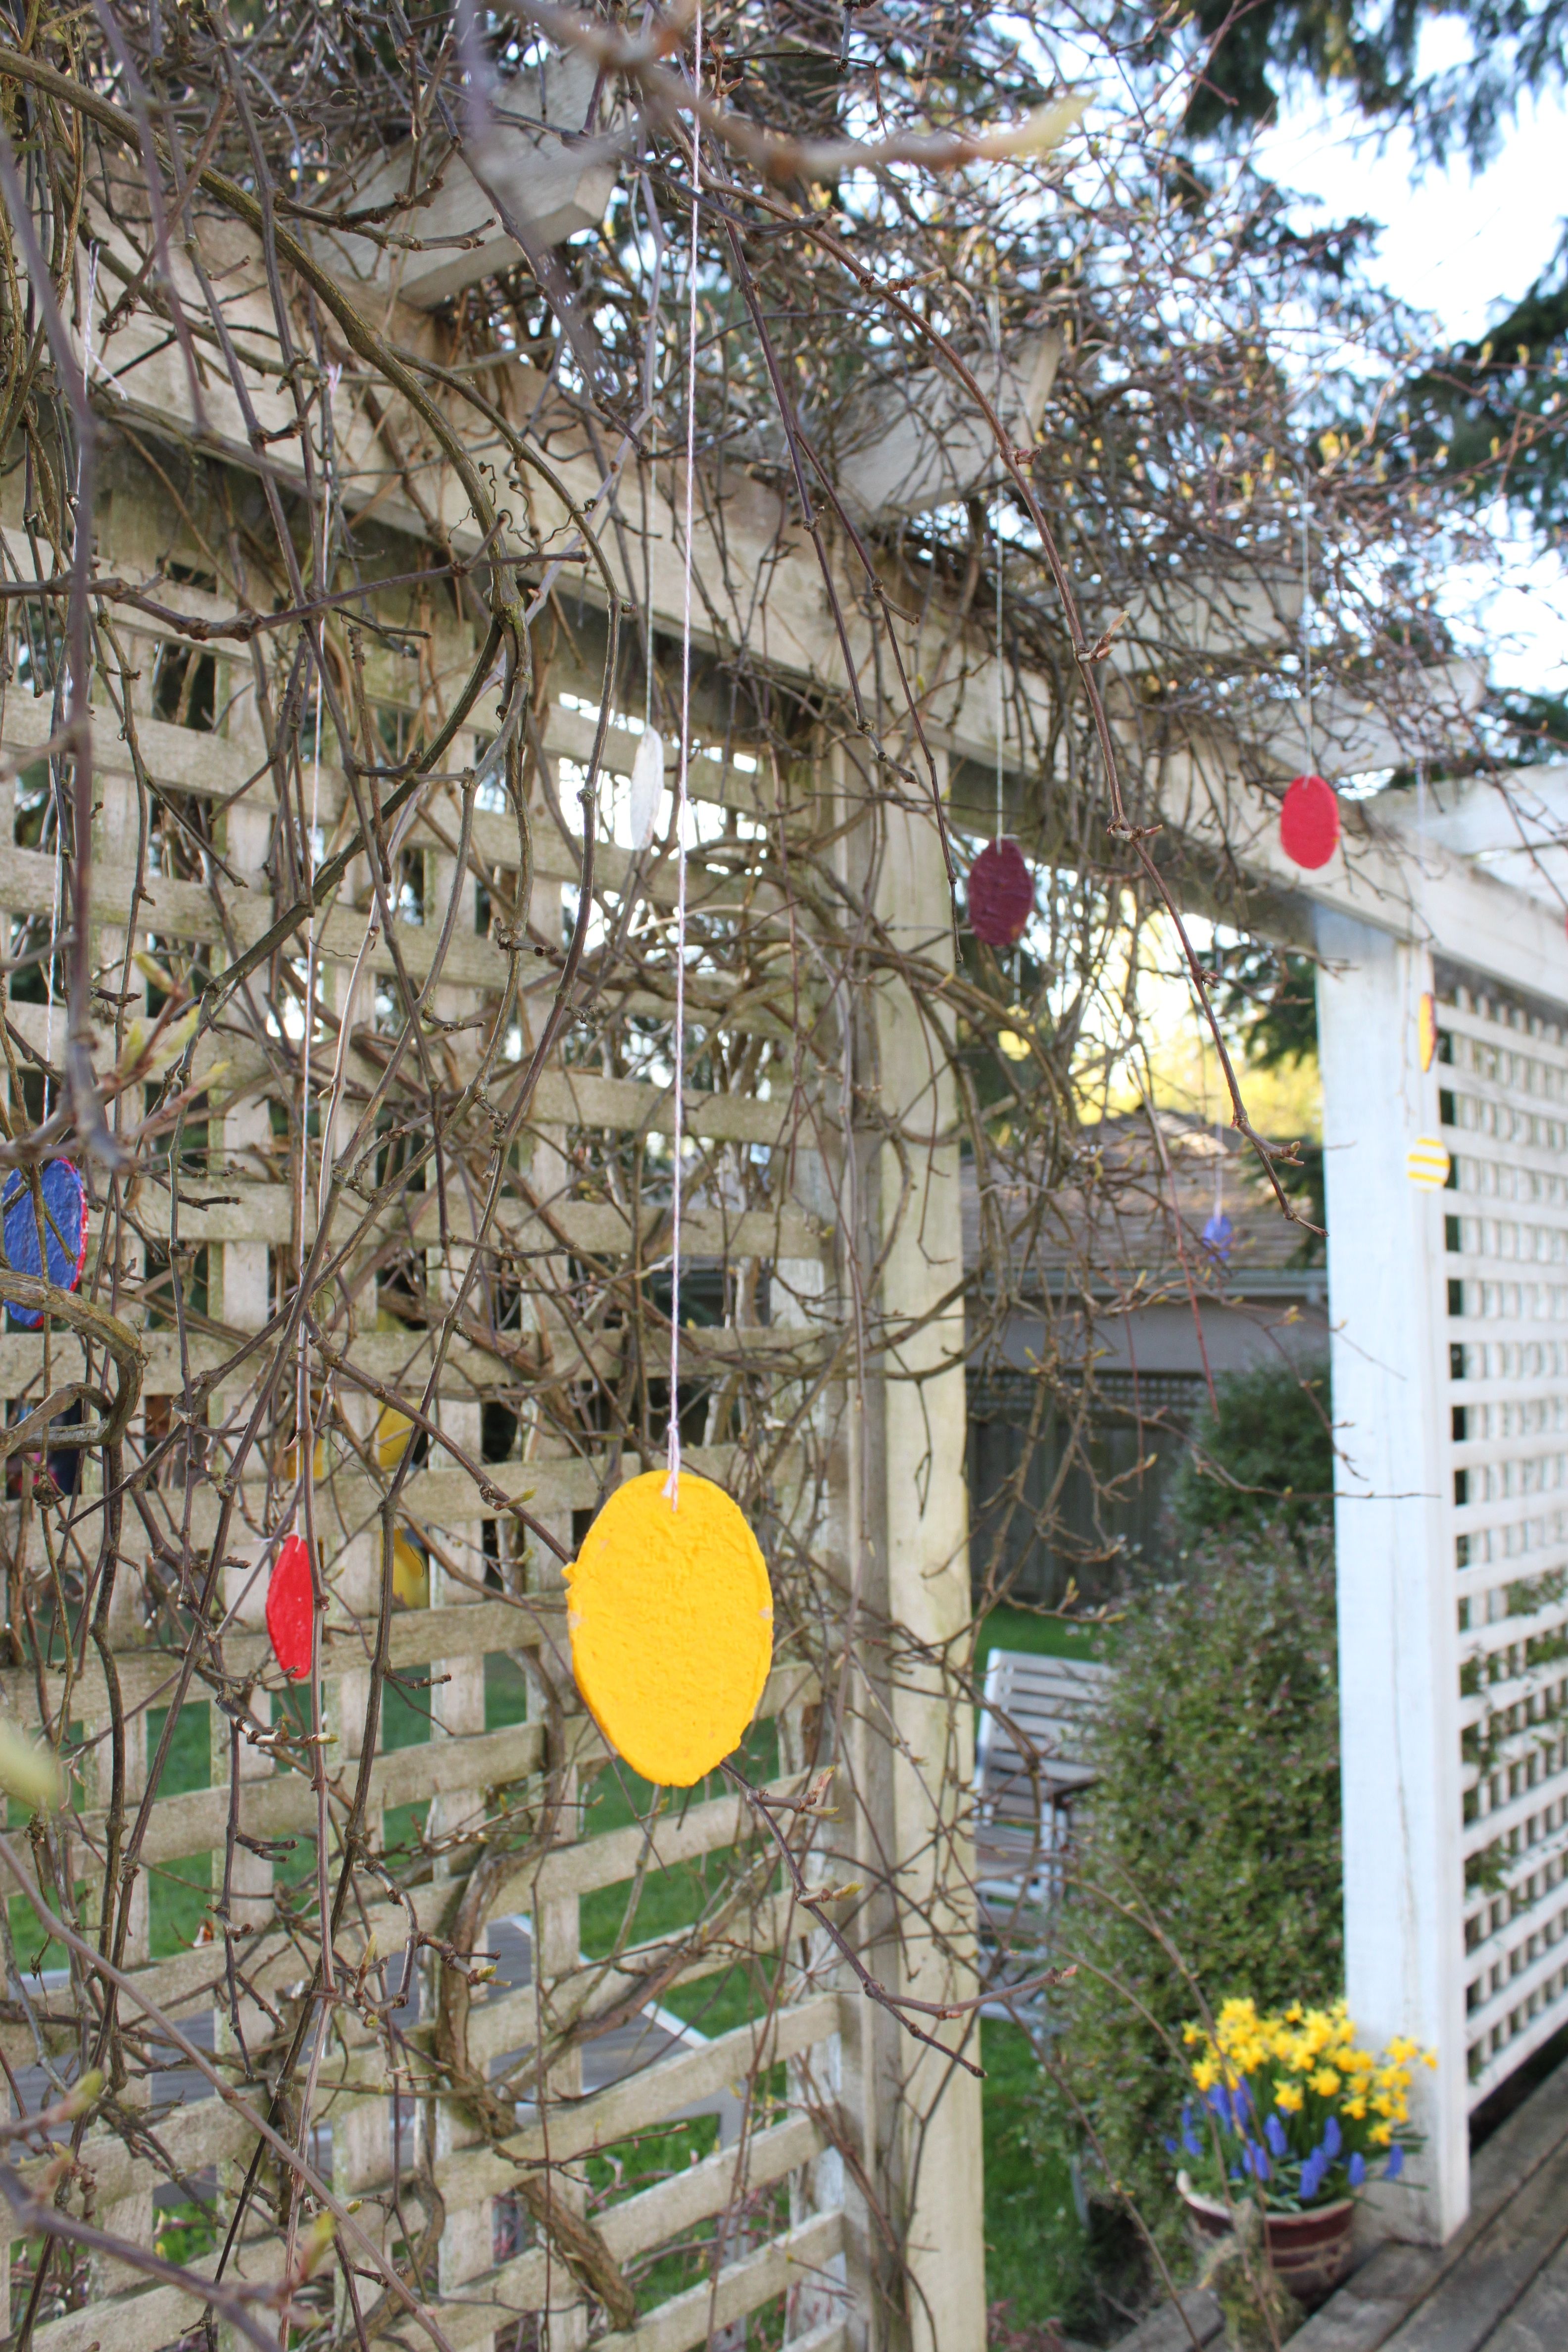
The kids couldn’t wait to show their little buddies at our egg hunt which ones they painted.  Last night there was a huge rainstorm. The paint didn’t run (I planned for that) – but it was so wet that the water seemed in and made the very hard salt dough eggs all mushy.  mushy egg

Gross.

Trial and Error.

Off to go bake some muffins and some potentially super fun garden cupcakes … will show you when they’re done.  They might work out – and then again … who knows.

Have a wonderful day.

bunny love

I love love holidays – a reason to celebrate.  More than the actual holiday, I love the lead up to the day.  The prep.  The crafts and baking. The planning. The excitement making.  The dreaming of what might be and what could be.  Christmas is by far my fav, but birthdays, Easter, Valentines day and summer parties are all very special as well.  This year the kids know that Easter is coming, we even have a bunny living in our yard that contributes to the excitement (he is clearly scouting locations for an egg hunt …).

Our girls love dinosaurs and trucks, getting muddy and playing with worms.  They also love purses and skirts that swirl when they twirl, their ‘babies’ and putting on ‘make ups’ (clear lip balm – don’t worry no toddlers in tiaras here).  This weekend to keep the Easter theme going I pushed my remedial sewing abilities a little further and entered the foray of children’s accessories. bunny purses to be exact.

I haven’t seen these done before on pinterest or any other blogs – so i posted a bit of a how to here for my fumbling steps to bunny bags but please let me know if you know of or have seen a better way!  Also a caveat – I don’t make patterns or measure (think very remedial) so all measurements below are estimates.  They are super fun little bags though, so if you have a little girl who might enjoy – you can put this together in about 30 minutes or less:


front

bunny bag front

back

bunny bag back


Here’s what you need:

about 1/2 M of two complimenting fun spring olours of cotton fabric, pre-washed and ironed, 1/2M of corresponding ribbon and some elasticbunny bag elastic

Here’s what you do:

1. cut out three identical bunny heads.  Two in one colour, and a third matching colour.  Ours are about 15 cm wide and 10 cm high, the ears are another 10 cm.bunny bag materials

2. sew together two of the bunny heads in different patterns – fronts facing in – leave a small gap at bottom – flip them inside out, finish the stitching and iron flat.

3. cut off the ears of the third bunny, and fold over the flap about 1.5 cm sewing a straight line across so that you create a flap that you can thread the elastic through it later to make a pouch.

4. sew the third bunny onto the other, starting just below the left ear and going all the way to just below the right ear. do not stick over the openings in the flap you’ve made on either end, don’t stitch the top.

5. thread your elastic and a ribbon through the flap and pull the fabric so that it ‘scrunches’ up.  make sure your ribbon is not taught.  stitch over the ends and cut off any excess elastic.  It should look like this:

bunny bag coming together

6. flip it back right side out and iron again. You can tie the ribbon around the ears to bring it all together.  You could also add a face to the bunny – though i like it plain.  The elastic along the back allows for precious things to be easily stowed and little hands to easily stretch into the bag to pull out any gems along the way.  I took a longer scrap of material in the corresponding pattern and flipped both sides in – laying a straight stitch down the middle in order to made a shoulder strap for the purse.  Attached on the inside and away we go.

This is the final look:bunny bag front


And this is one of our little babes – off to find dinosaurs to fill it with 🙂

bunny bag takes flight


Matthew is starting to understand a little bit about the real reason behind Easter, which I think is important, but the girls are still all about the bunnies and chocolate.  Regardless, we have a great two weeks of crafts and baking ahead of us as we prep for the weekend.  You might see a few more of these Easter posts as we bake and create our way to mid-April … hope I don’t bore you too much!

after dinner art

Do you have young children? What is the toughest time of day for your kiddos?  For us it’s that time between dinner and bath-time.  They are tired, a little crazy from the dessert they got as bribery for finishing dinner, and a little done with one another.  This is potentially a recipe for face making, name calling, toy grabbing, bum chasing chaos… so my husband and i try really hard (really really hard) to put our game faces on and do some fun activities apres dinner.  It might be soccer, or a walk, or a mini bike ride, or lego or dinosaur-baby-family-knightandprincess-school (yes we merge the ‘boy’ and ‘girl’ games to sandwich utterly ridiculous awesome make-believe messes)…or on really fun nights we do artwork.

Generally our after dinner art is messy, fun, and potentially dangerous with paintbrush wielding artistes who each have a vision as unique and they are.  This week we made salt-dough eggs one night, then we painted them with base coats another night.  Finishing touches (swirls and circles, lines and zig zags) will be tomorrow evening.

finished eggs

I found the salt dough recipe in an old post on the design mom blog .  Essentially you mix 2 parts flour to one part salt and one part water (ie 1 C flour, 1/2 C salt, 1/2C water) – roll it out to 1/4 inch thick, cut with cookie cutters, poke a hole in the tops with a straw and place on a parchment lined pan – baking at 250 degrees for 2-3 hours.

The following night we put down some newspaper, popped on aprons and painted with acrilic paints so that we could hang our eggs outside and the paint wouldn’t wash off … but it was far more messy and dangerous than using watercolor  paints. Living on the edge… charlie egg painting

In reality, this project involved my amazing husband hovering with warm wet clothes to grab the painted fingers and flying brushes before stray paint landed on our chairs, clothes and floor. Bothersome hair, itchy faces and drippy drips on arms were sacrificed and washed thoroughly in the bath-time that ensued.

Tomorrow we’ll paint our designs and then up they go – on the branches of our trees outside … a little bit of Easter festive fun to add to the spring feeling in the air.  A three part-er art project that has been super fun for our crew of three under five.

Hope this maybe inspires you to do a fun Easter project too… or at least gives you an idea to get through the toughest part of your day.  Would love to hear your ideas to get through as well!

kate egg painting