Skip to content

Archive for

write up my alley

I’ve been trying to be one of those ‘self-taught’ designers for years.  My lack of patience always leaves me feeling like the look of what I make is a little too home-spun and not quite cool enough.  I feel this way in particular when designing print materials.  I love fonts, and love downloading free fonts that creative people everywhere make for people a little less ‘designer’ (like me) to use.  This is one of many great artists who I love that share their free fonts and there are so many more you can find through blogs, pinterest and posts.

At work we’re just finalizing some brand guidelines, and the talk of font and the psychology behind which fonts work well in what circumstances and how to pair them for impact is fascinating.  I personally definitely gravitate to sans-serif fonts (those are fonts without the little projecting features like the ones you find in Times New Roman) – but I’m not special – most of the web friendly generations do because web-friendly fonts are very typically sans-serif for readability (like verdana, arial, helvetica)

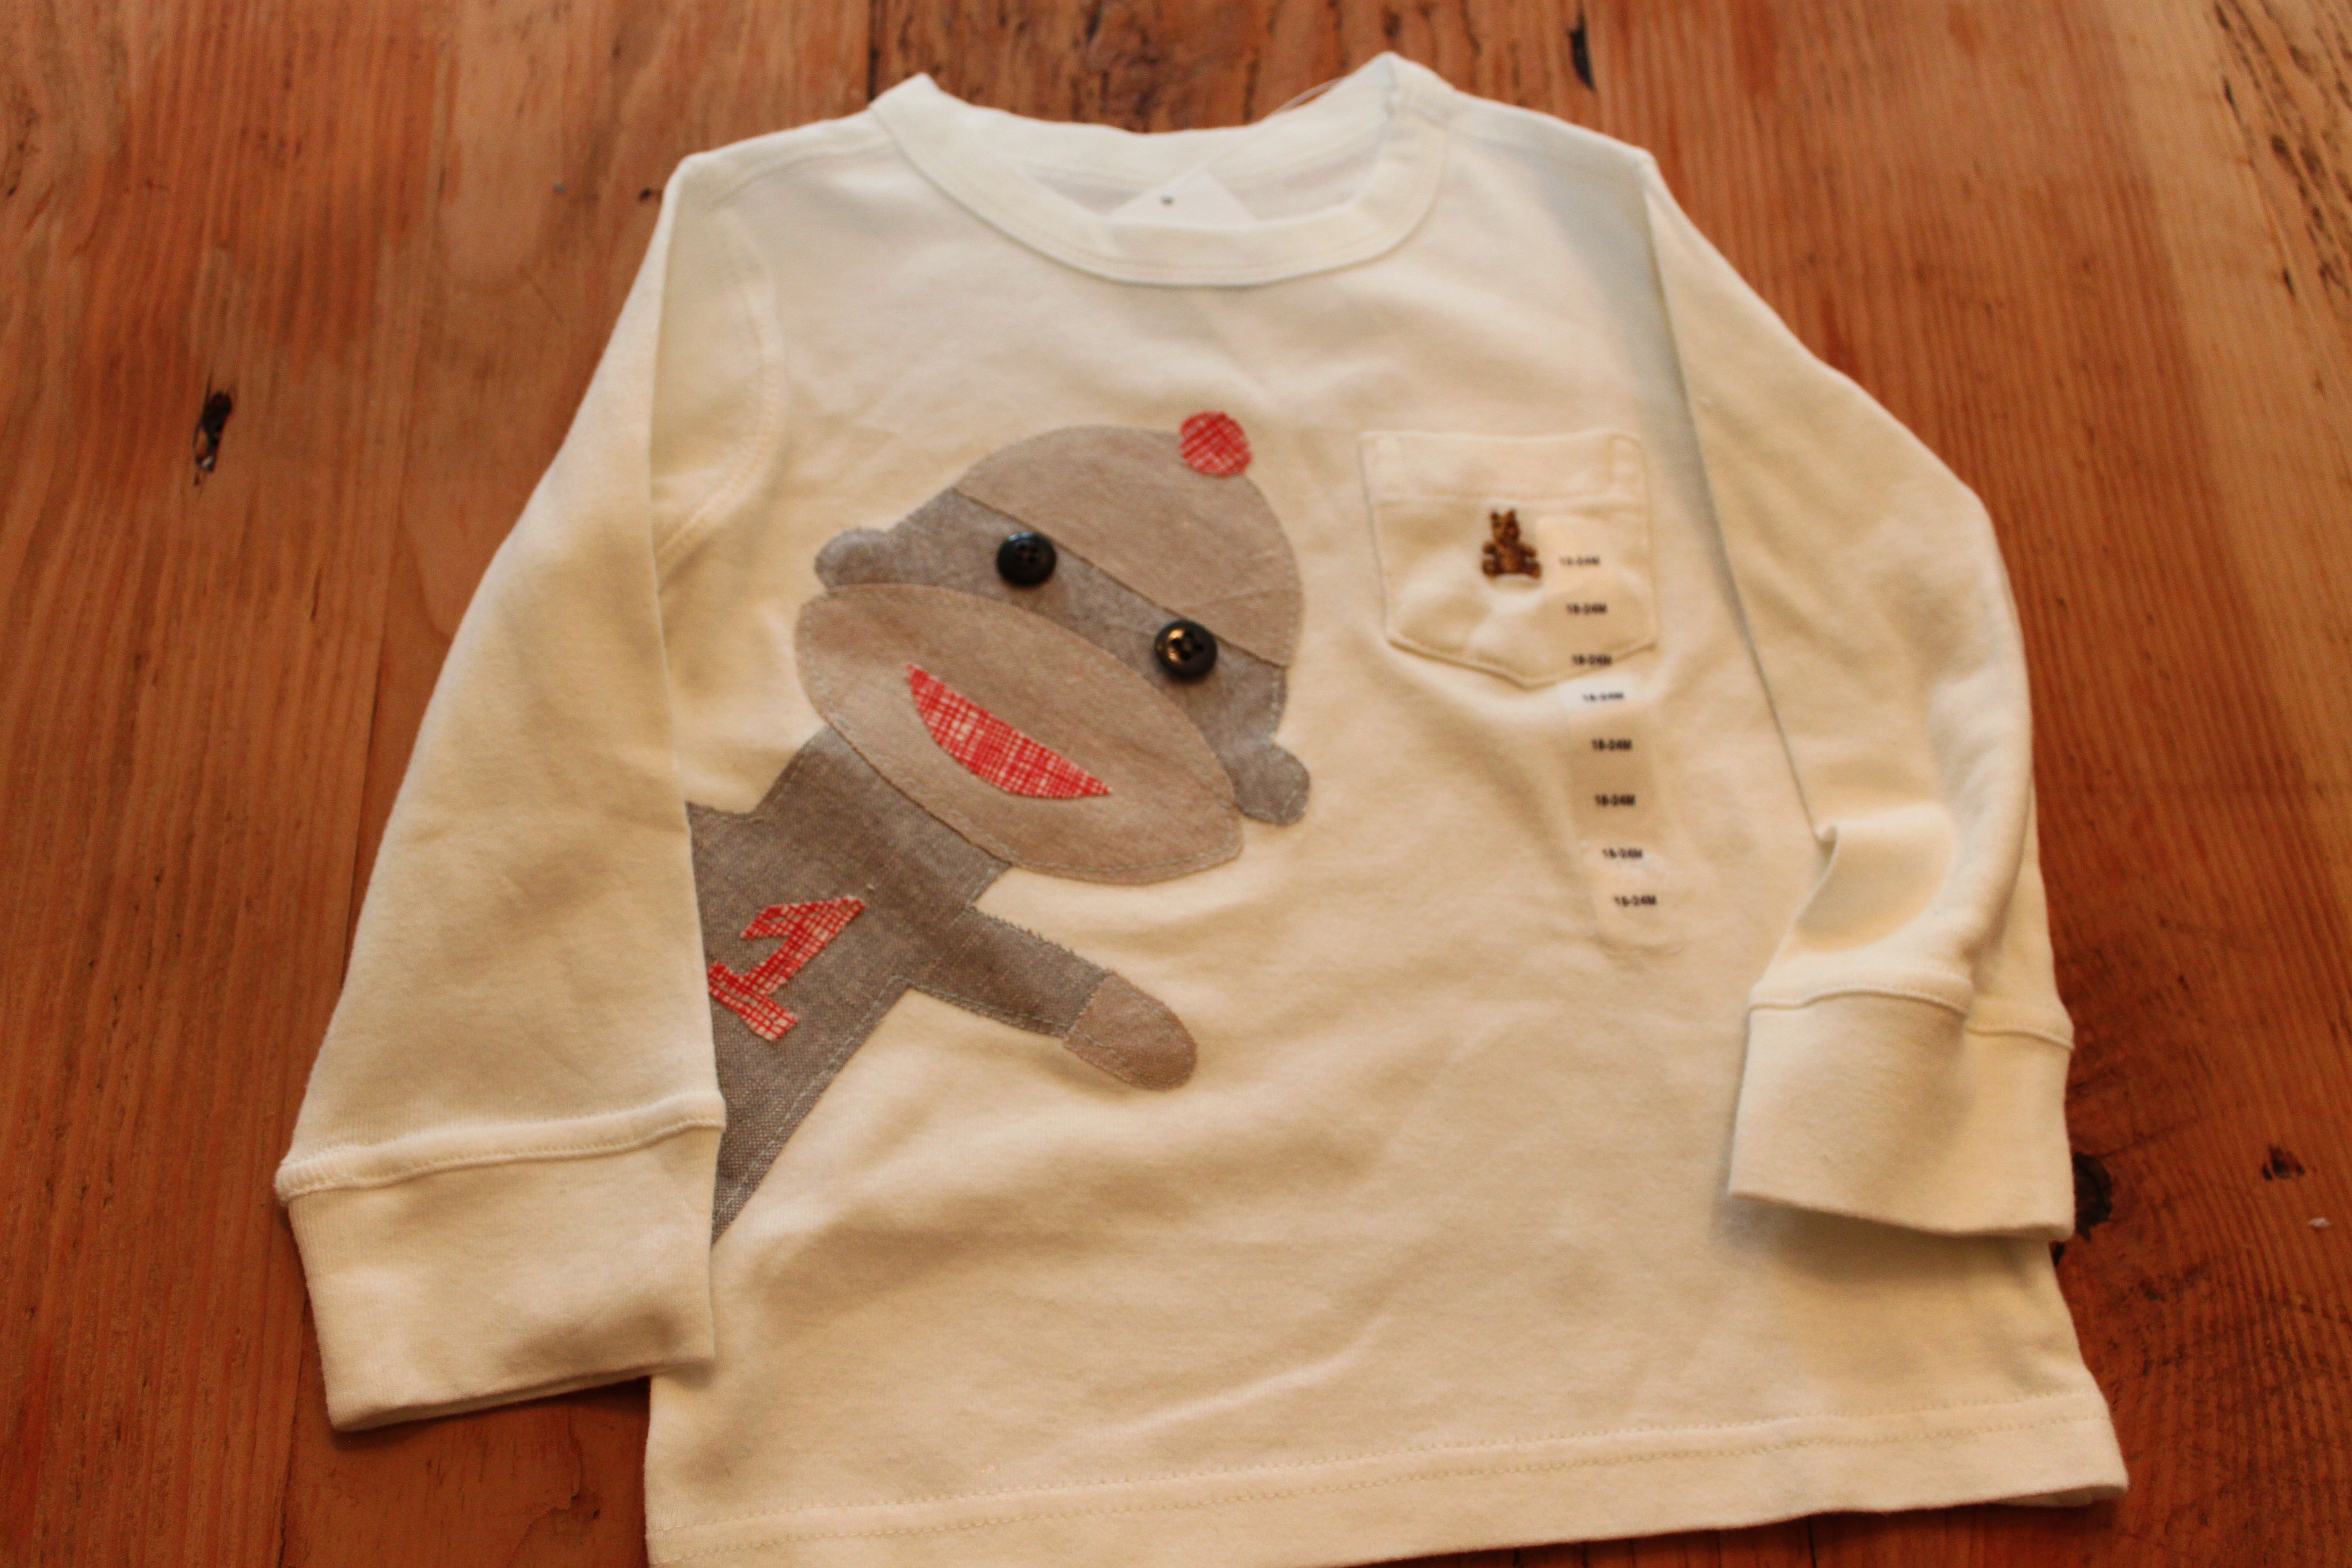
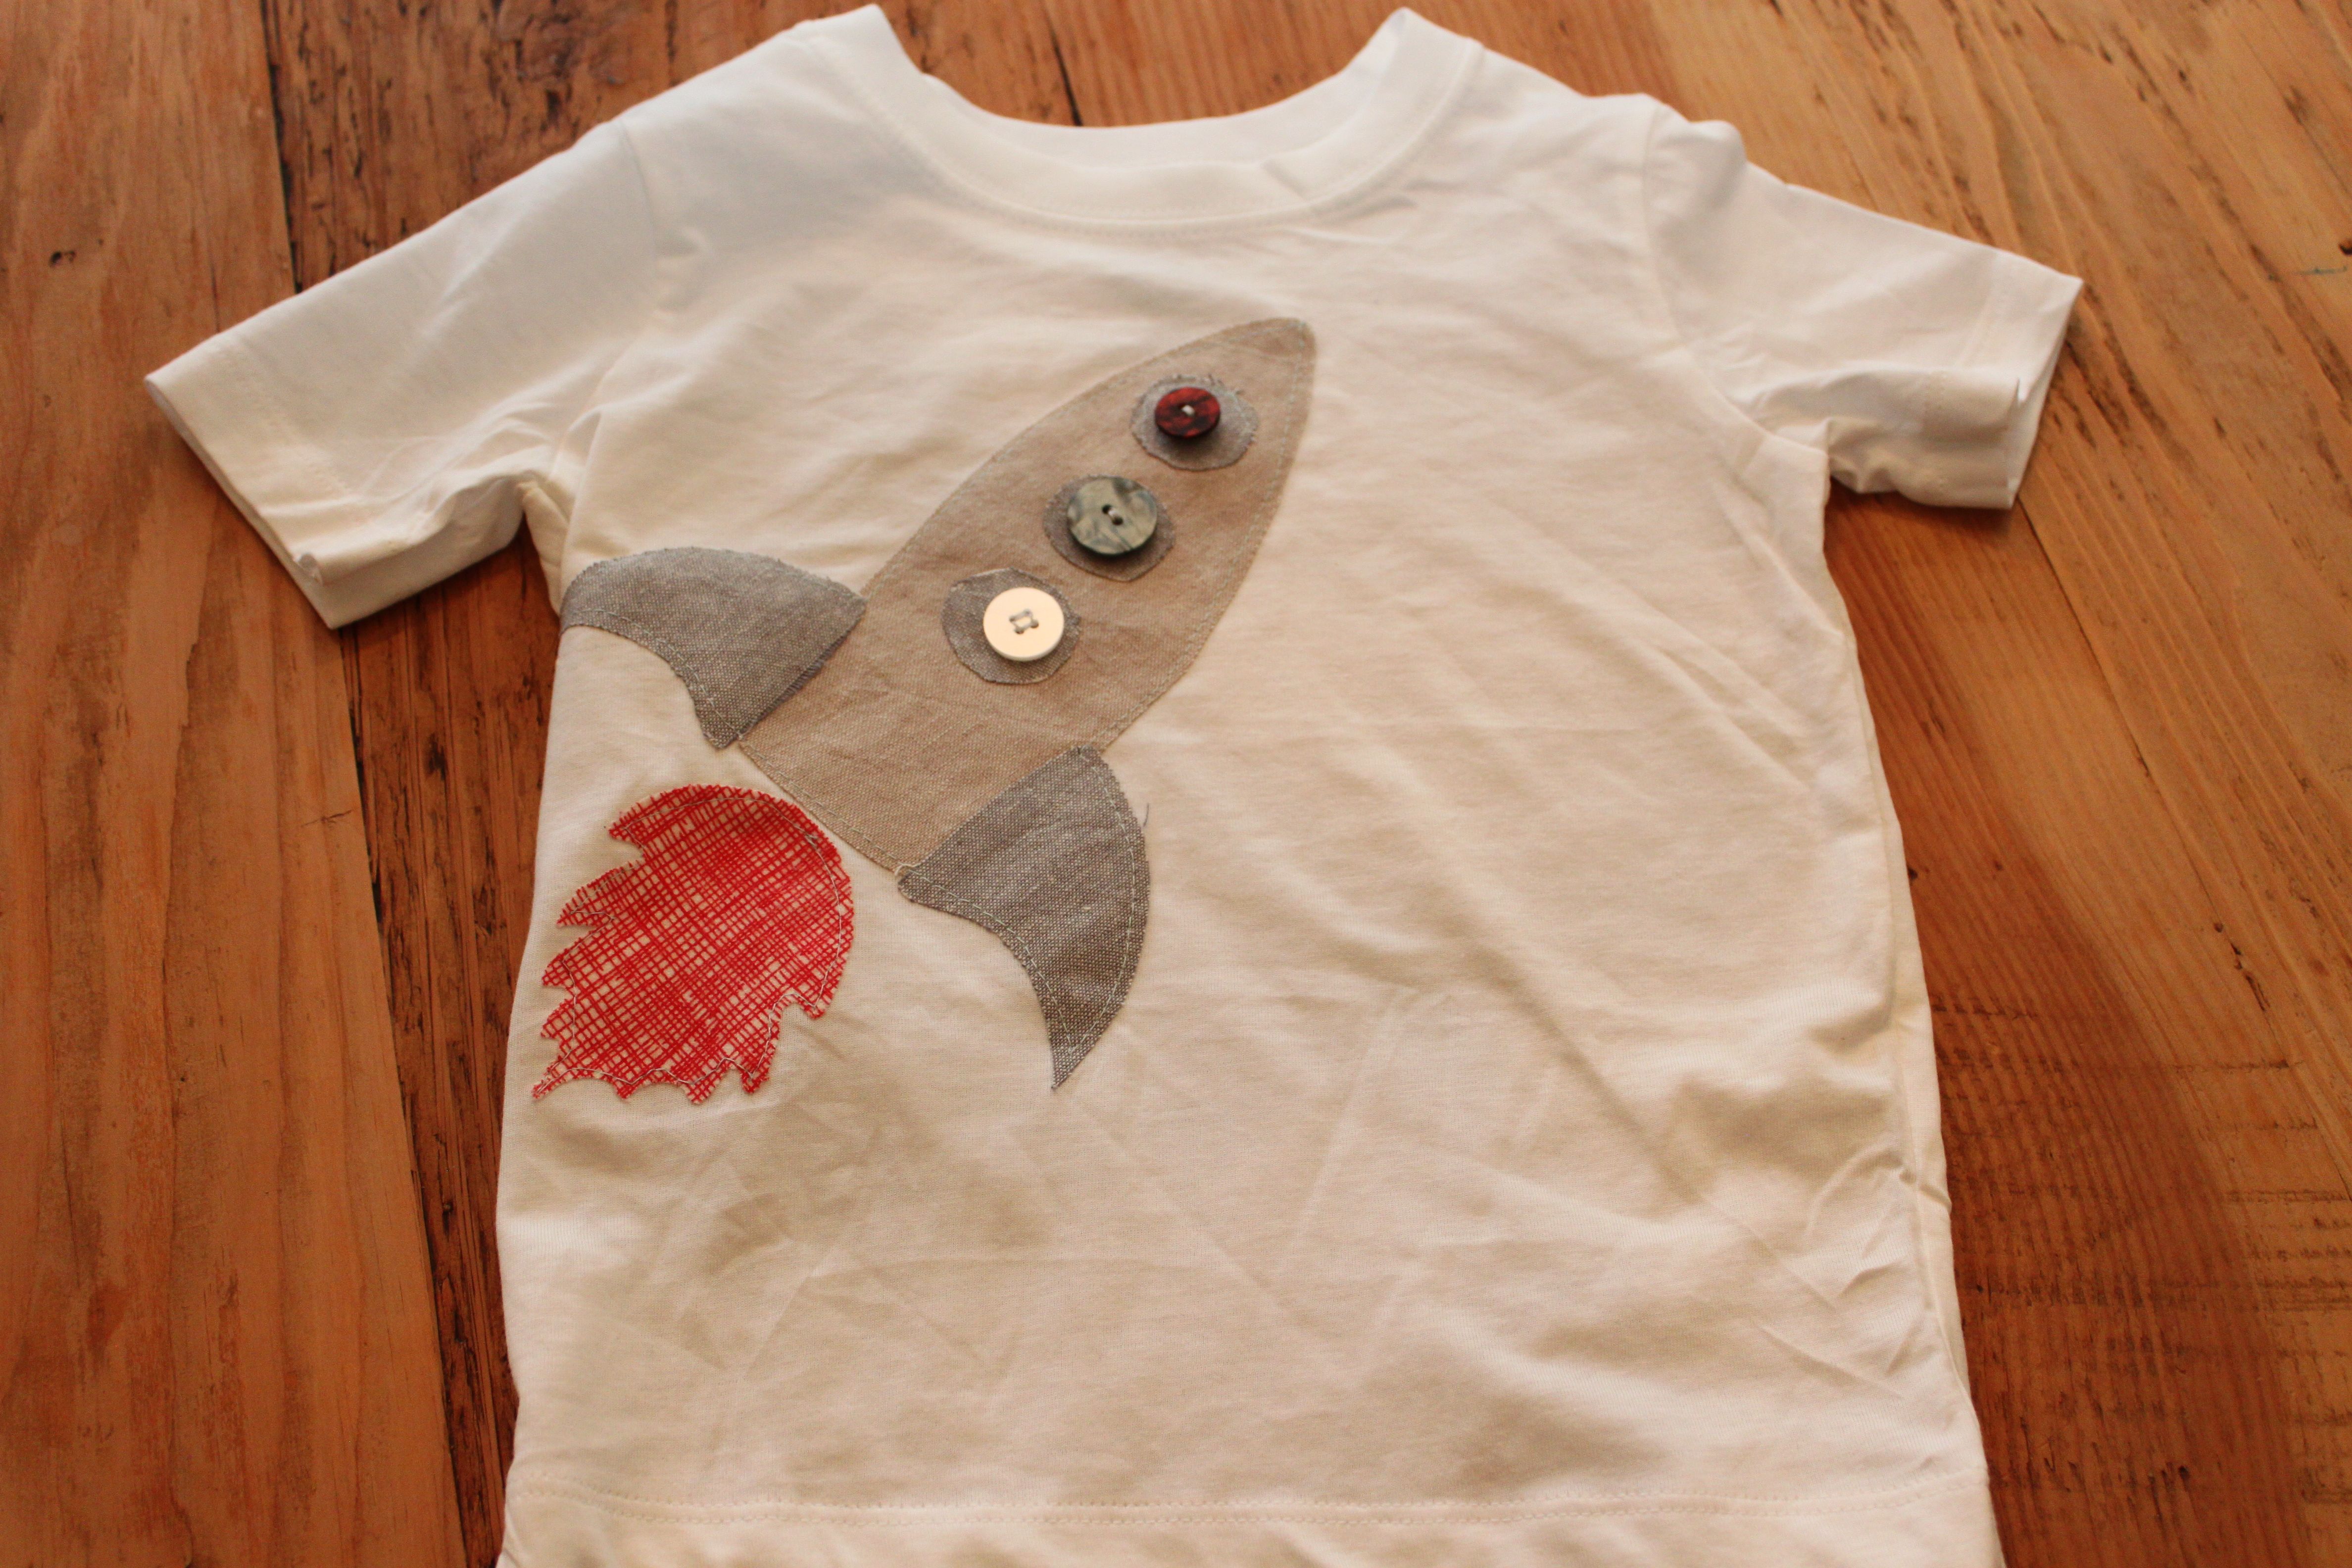
Recently as my foray into fonts and adobe knowledge has become a bit more of an obsession (I’m still using power point to ‘design’ most things so you real designers please avert your eyes) – I stumbled across the most fabulous App. – ifontmaker.  It costs $6 to download – and it’s so worth it.  You can design your own font on your ipad with the stroke of your finger or stylus and then save and download to your computer to add to your own font library.  I created a number of fonts to help compliment some new designs I’ve been working on.  Our whole family got into the spirit – so Cam and Matt have their very own signature fonts now too.  My favorite part? We can track this kid’s letters as he grows and I can now use his font in thank-you notes and other stationary from him.  For a momma that loves the lost art of written mail and notes – this was a fabulous find … wanted to share in case you agree.  What’s your go-to favorite font?

matts font

Now if i could only figure out how to change this font on this blog … technology is a whole other world.

zoom goes the rocket ship

I’m going to try to tie this all together in a neat bow – but it will really only show you how random I can be… it all makes sense in my head.  So here we go:

I have been wanting to get back into sewing for a while.  My mother-in-law is an amazing seamstress and makes our girls gorgeous dresses that I love.  Very inspiring. Never going to that place, but I’m excited to do other, less daunting projects. Started with sewing a whole bunch of cards, then made some bags, and now onto t-shirts.  Sort of.  I don’t think I’d ever actually sew my own shirt given the price you can find them for already done.  Plus I’m impatient (no doubt a theme on this blog)… and I wanted to be a bit creative.  I actually really like the idea of inspiring our kids with what they wear.  I want them to be excited by the little things every day – even if it means dressing them in clothes (sometimes) that will help spark their imagination.  So I thought I would design some appliques in fun colours and stick/sew them onto plain shirts that they already have in their drawers.

Meanwhile:

Our son is studying space in school this month.  Our stand-by craft favorite – the paper towel or TP roll – has now been converted into space ships using markers and construction paper.  The three kids have been soaring through space this weekend thanks to some stars we made around Christmas time, some great educational space songs I grabbed off you-tube (love the story bots) and some glow in the dark markers that helped us make planets and alien dinosaurs (can’t forget the dinos).

Also:

This month marks our adorable nephew’s first birthday.  The theme for his party is monkeys.  My brain always goes to Curious George or to sock monkeys … and the infinite possibilities with both.  I know it’ll be an amazing party and I’m sad we can’t be there for it – so I thought I’d try to make something a little personal for them to send ahead, to go along with the theme.

How it all comes together:

I have a bunch of sample fabric (scraps) that i buy cheaply from fabric stores. They are just small pieces, most avid sewers might even toss them – but for me they are just the right size to create some magic.  Last night I had some fun with that fabric, and some plain shirts I picked up during the week.  The first is my take on a sock monkey, for my classy cutie pie nephew – no wild colours or patterns – but with a little number one on the monkey’s tummy to mark his big day.  The second, was actually from the left over scraps of the sock monkey shirt – I had enough fabric that I’d ironed on to wonder-under to sketch out a rocket ship and make our space fan his own rocket ship shirt.monkey shirt1rocket ship t

The irony is that I actually dreamed this up for our girls.  I’m excited to make them shirts that aren’t necessarily ‘girlie’ but that also engage their imagination.  K loves pirate ships right now and airplanes, and C loves fish and whales – so I was thinking I would do something along those lines for them.  Ran out of time, which is great… because it means I get to do this again. 🙂

In case you’re wondering – yes – this is another craft you can totally do at home.  Here’s the quick and dirty on how I did it:

  1. pre-wash and iron all fabric, sketch out a design you think you want to usematerial ironed material1
  2. make sure your design is relatively simple, the devil is in the details.  Also eye-ball it with the size of your shirt and make sure it will all fit                                                           drawing colour and drawing monkey
  3. follow wonder-under or other iron-on transfer instructions – and apply to fabric on the wrong side.  Then draw what you want out of each piece of fabric right onto the paper you’ve attached.
  4. cut out the shapes (remember to do it backwards as you’ll be flipping the fabric over to apply it to the shirt), place on your shirt and make sure it all works, then peel back and iron onto your shirtalmost done
    rocket almost done
  5. you can leave it like that.  for these ones I did a rough sew just inside the edge to add to the look.  I also added some buttons for embellishmentsmonkey close up

kreations and hair clips

I hope your first week back to work/school/full-on life is treating you well.  It’s amazing how fast our busy lives can re-ignite isn’t it?  I was reminded recently that being  ‘busy’ isn’t actually that cool  (awesome article by Tyler Ward) – so I’ve been trying to focus on what I really love about life for at least a little bit each day.  Amazing family, my awesome love, and of course that wonderful world of creativity we sometimes get to escape to…

I’ve had some version of a design company since I was a little girl.  I loved making barrettes with lacquered gumballs and scrunchies, barbie clothes and little bags sewn on my great grandmother’s sewing machine when I was eight.  Did you have similar creations? I called my ‘company’ kreations (the ‘k’ is for kerri – get it? I was super cool even back then 😉 ) Later I worked at a flower store part time while going through university, and started designing flowers and then stationary for weddings… lots and lots of weddings.  By happenstance, I ended up an event planner on the side of another career – and loved every thankless minute of it – before finding my passion building leaders with a community voice.  Then I became obsessed with company and individual brands – how do you set yourself apart? What do you stand for? Why will people remember you?

I believe all those things from my eight-year old impression of creativity to my thirty-something passion for character and core essence – are connected – it’s the brand you exude that makes you memorable (whether you know it or not) and we have choices to make:  in the way I present myself, in the way I treat other people, in the way I create anything from a spreadsheet to a presentation to a work of art or a dinner…. it’s all about my brand and what makes me unique, memorable…me.  I love that all those things are connected, and that’s why I write this – to remind myself that etiquette is not a lost art, that little things can go a long way, and that creativity is indeed contagious (thanks Mr Einstein) … I really have to say there is still that little girl inside that loves making barrettes and little bags.  And so, last night I did.

After a couple of years of buying clips for $10 a pair and watching said mini pieces of gold get lost in car seats and dress pleats, dolly bags and dinosaur mouths – I decided over the Christmas break that I wanted to try to make them for myself.  Imagine my delight when, on a chance moment alone, my husband pointed out a hair store and asked if I needed to get the girls anything (he’s seriously that awesome)… we walked in, and I found these:

box of clips

Jackpot!  $7 for 100.

I have a list of things that I always keep around.  You likely do as well.  Probably worth a post all unto itself … but that list – for me – includes ribbon.  Every time I walk through a store where it’s on sale for a dollar I buy a new pattern or style.  Just to have on hand for projects or to wrap up a special gift.

So I pulled out some ribbon, my glue gun, some scissors and a lighter – and with that movie night was turned into a baby girl hair clip extravaganza…raw clipsribbon

Some things I learned along the way:

1. you should measure.  I don’t like to measure anything – but I eyeballed the length and duplicated and it did really save time

2. you should use heat (like a lighter) to seal the end of the ribbon on both sides – otherwise it will fray

3. start at one inside end of the clip and use a hot glue gun working in sections.  Make sure you go right over the top of the clip – the glue won’t affect the coil.

4. if you want to make the clips no slip you can use velcro, glue dots, or as I discovered from one blogger – a thin strip of shelf liner (most economical) on one (in)side of your clip

I made 6 pairs of clips in about 20 minutes.  I was excited.  You can absolutely do this yourself.  Now I’m having fun with the embellishments – from hand made bows to little cupcake and heart add-ons.  I also may need to go grab some filmo (remember that stuff?) and design my own embellishments.  Next week.  Sadly for this week ‘kreations’ must now take a back seat to the rest of life.  Still feeling inspired though, hope you are too…